147 GTA Progress thread

Chris155

Member
Messages
196
14th June 2013


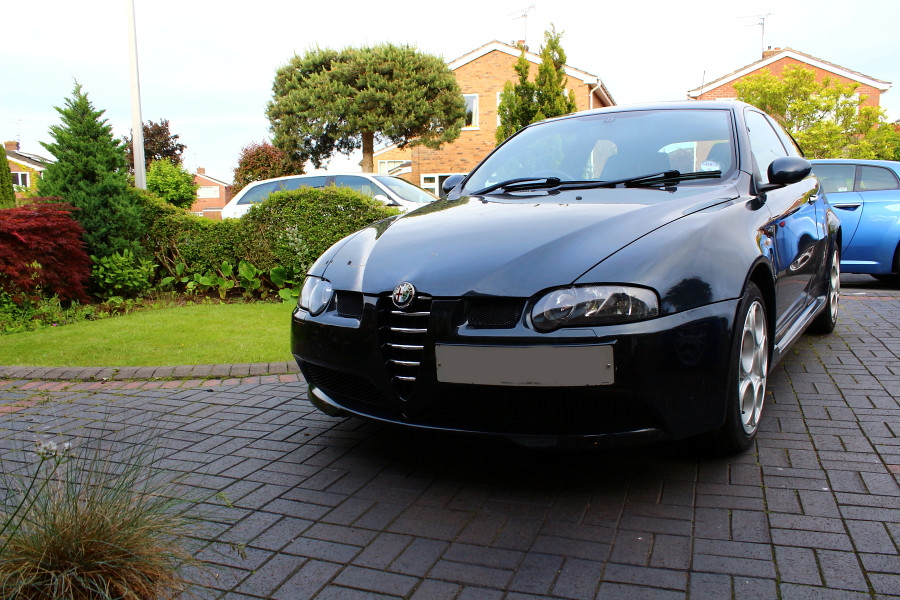
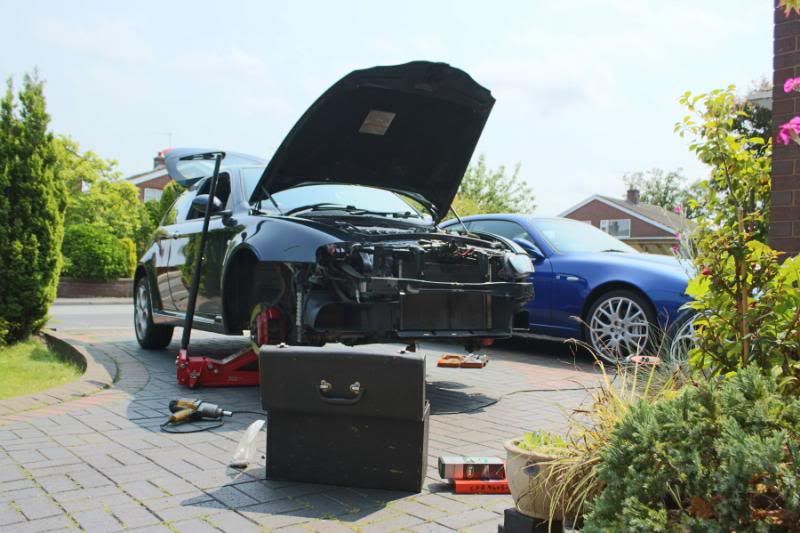
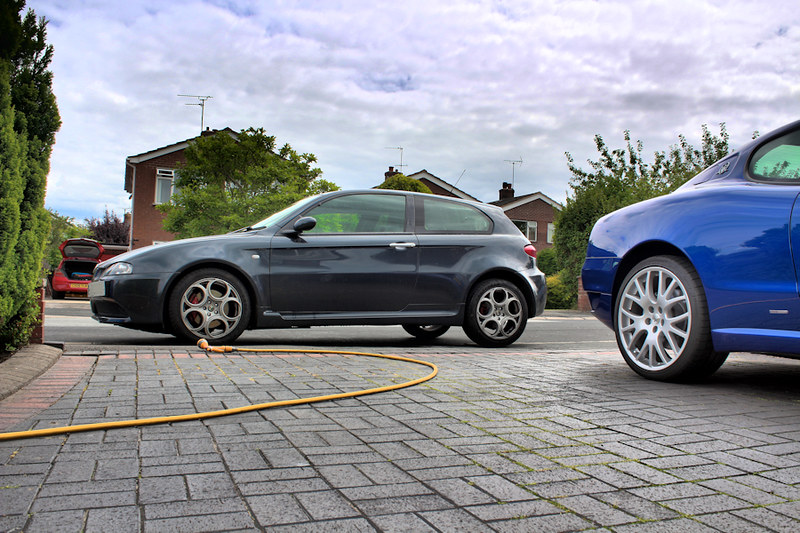
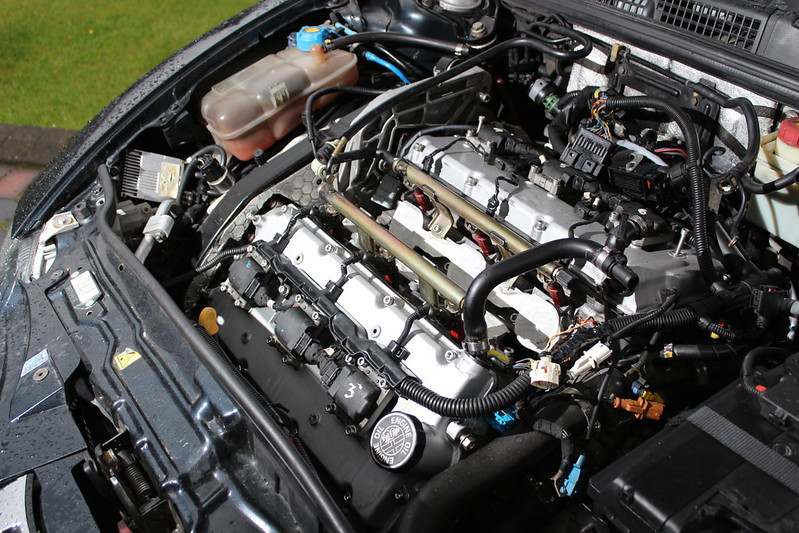
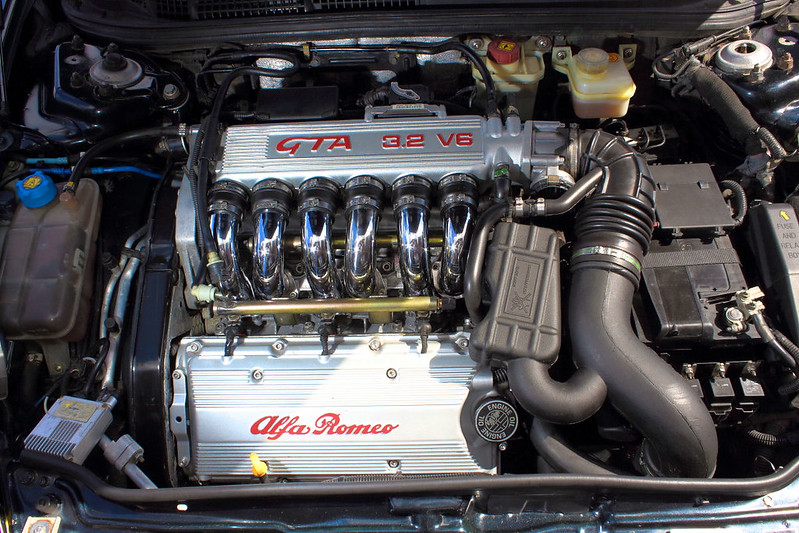
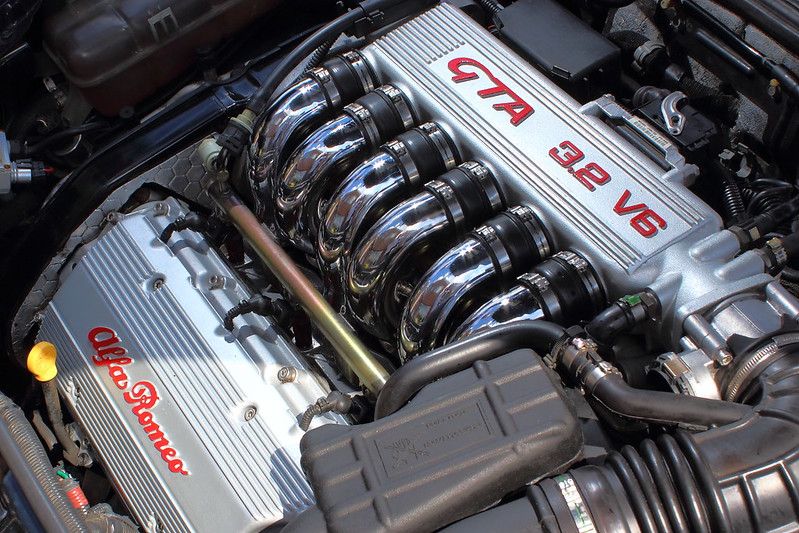
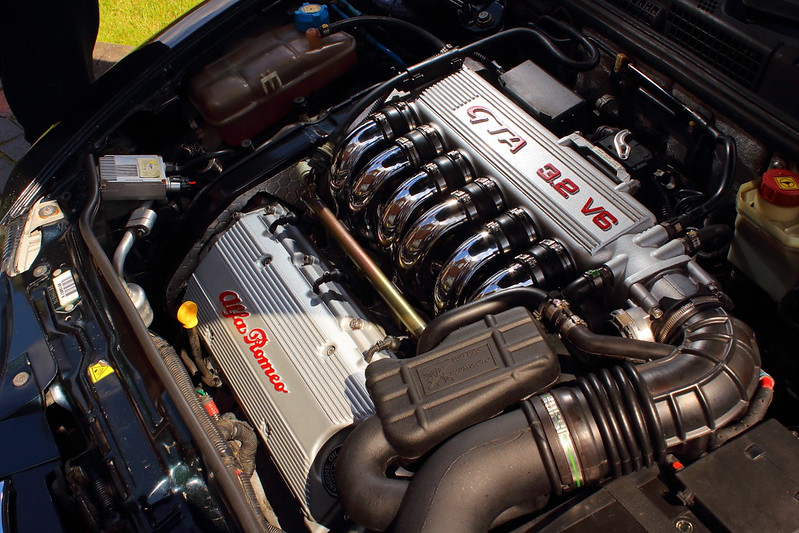
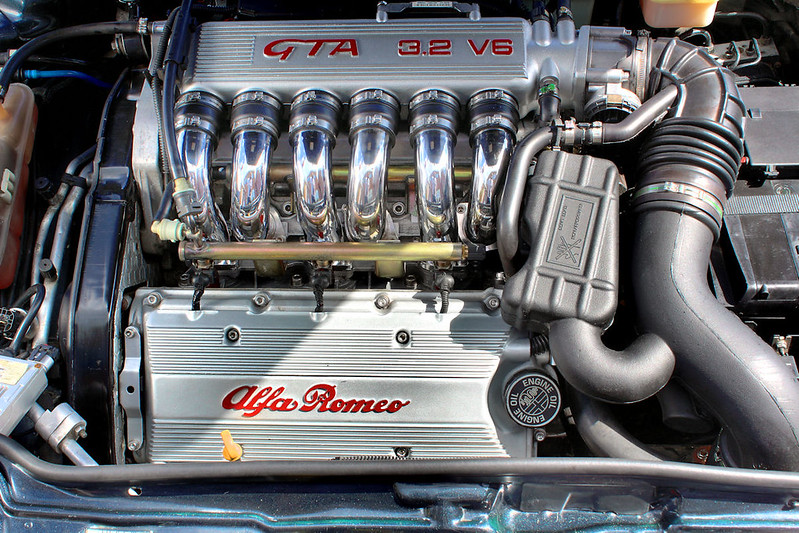
Image1 by chris147gta, on Flickr


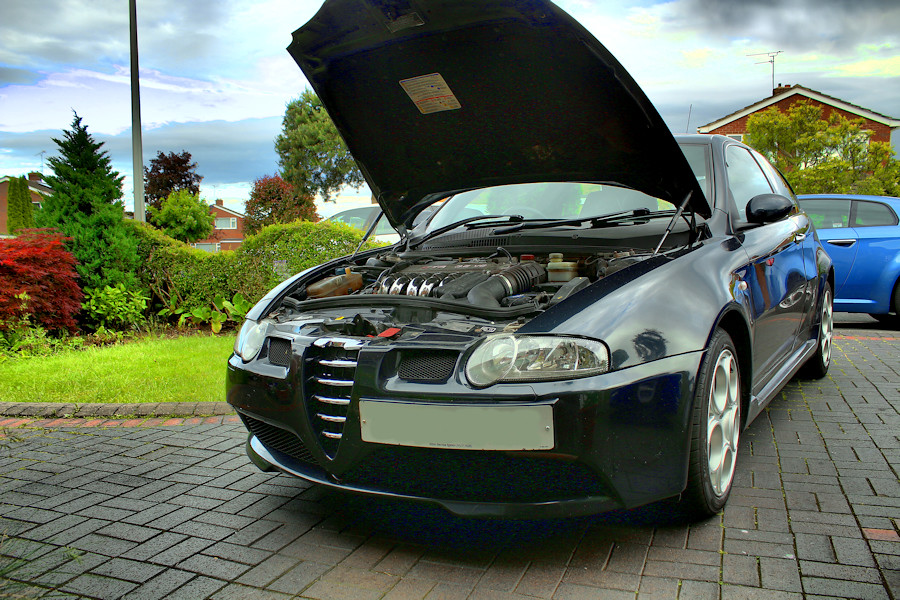
Image2 by chris147gta, on Flickr


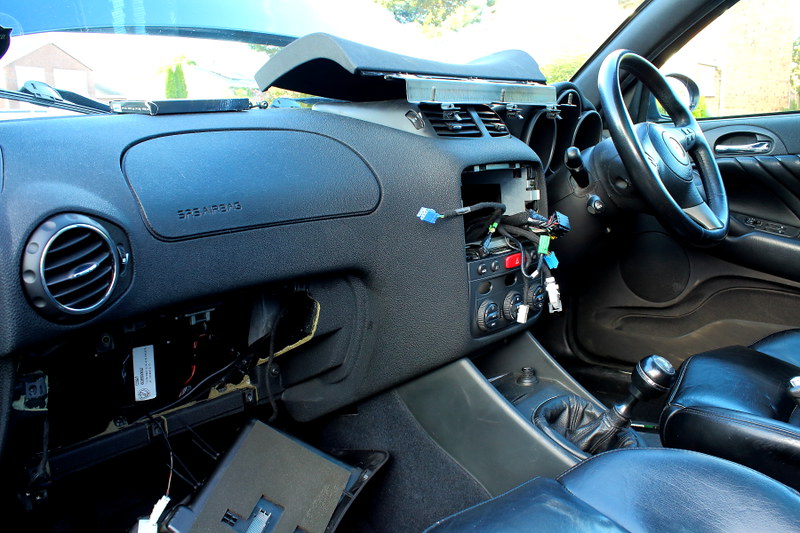
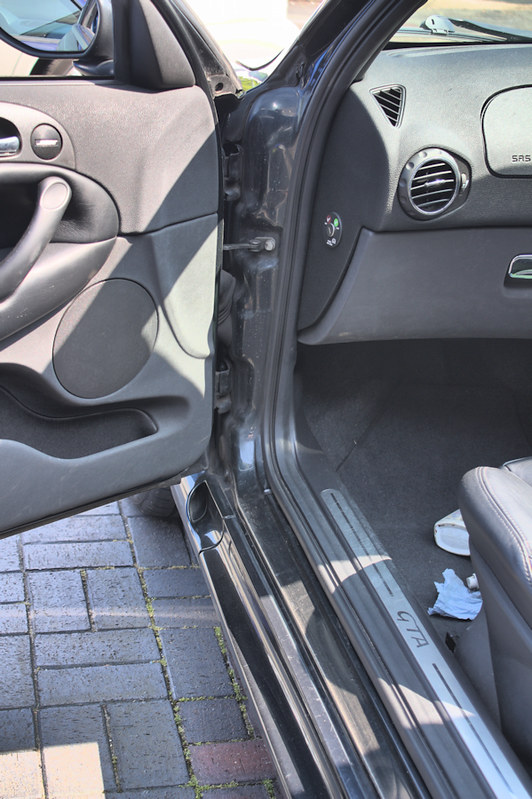
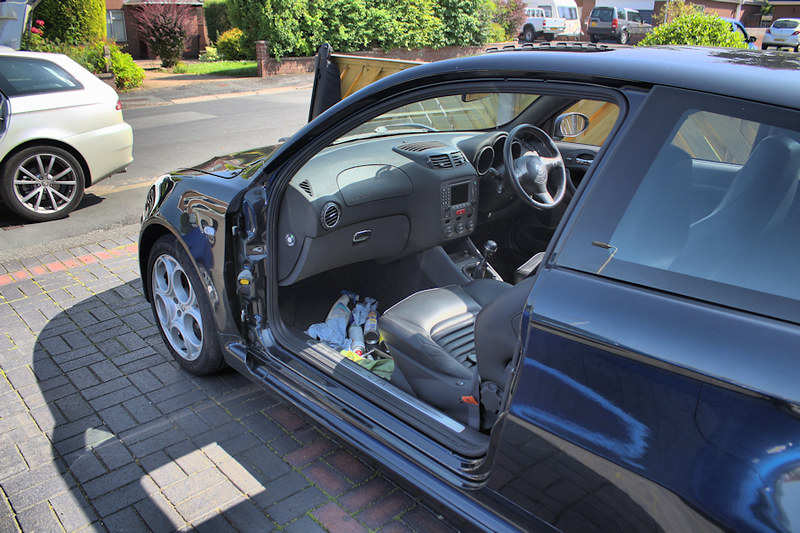
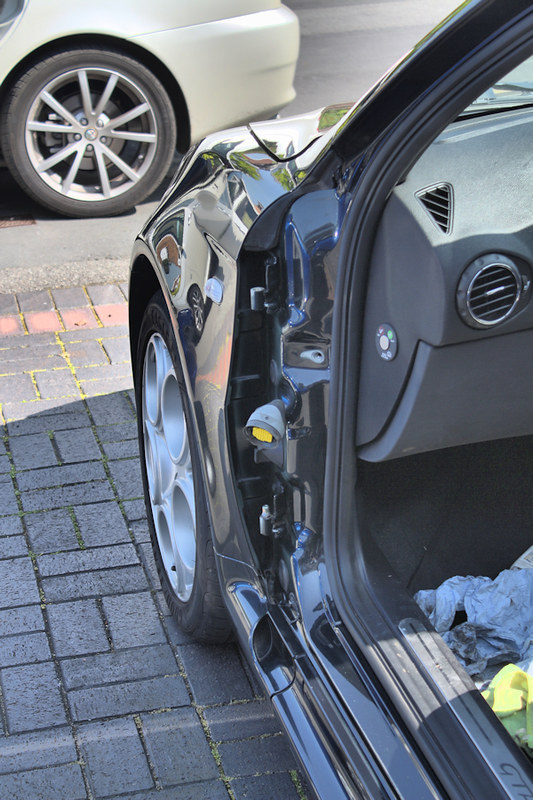
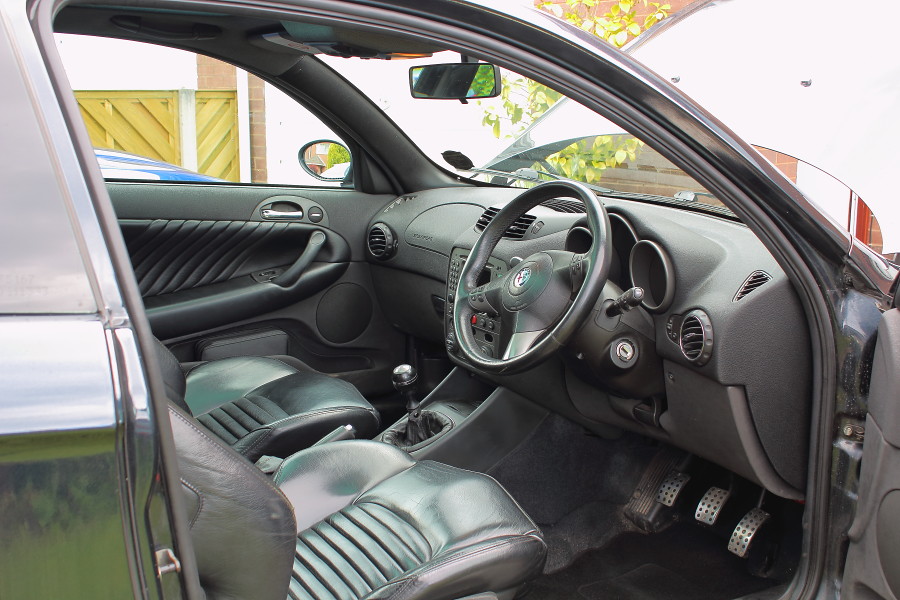
Interior needs a going over with saddle soap;


IMG_7089 by chris147gta, on Flickr


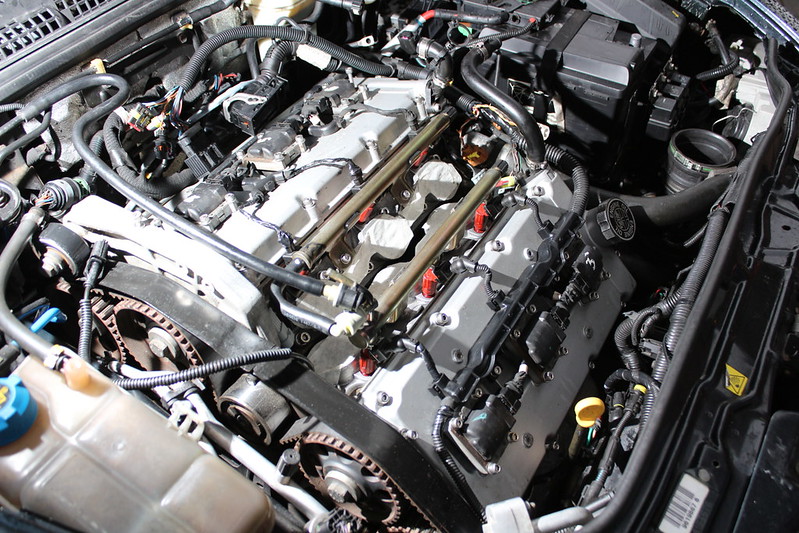
IMG_7093 by chris147gta, on Flickr


IMG_7096 by chris147gta, on Flickr

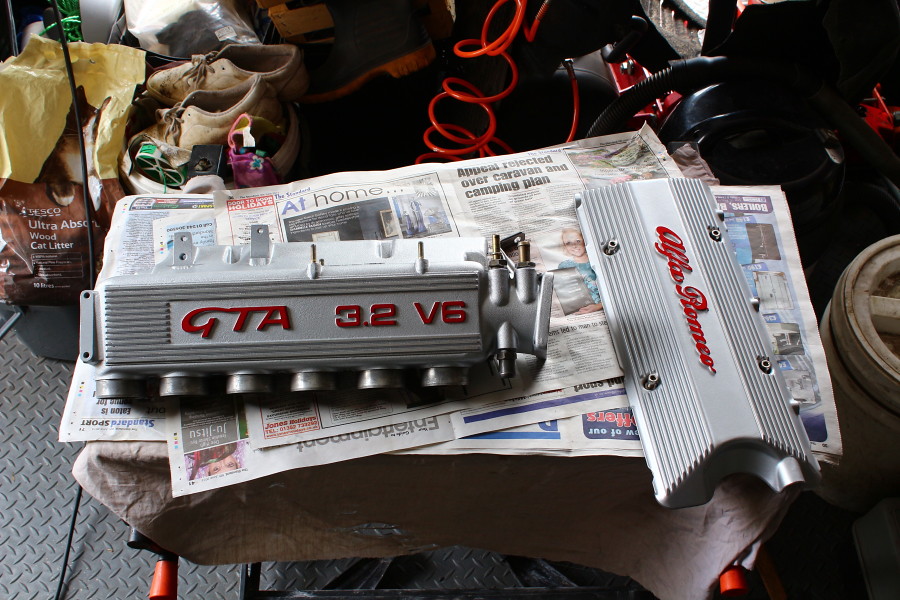
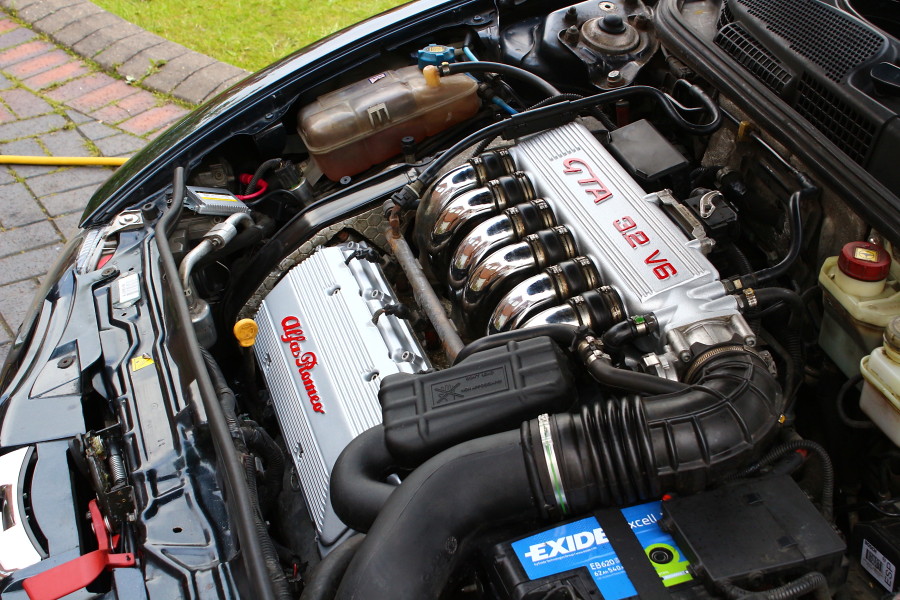
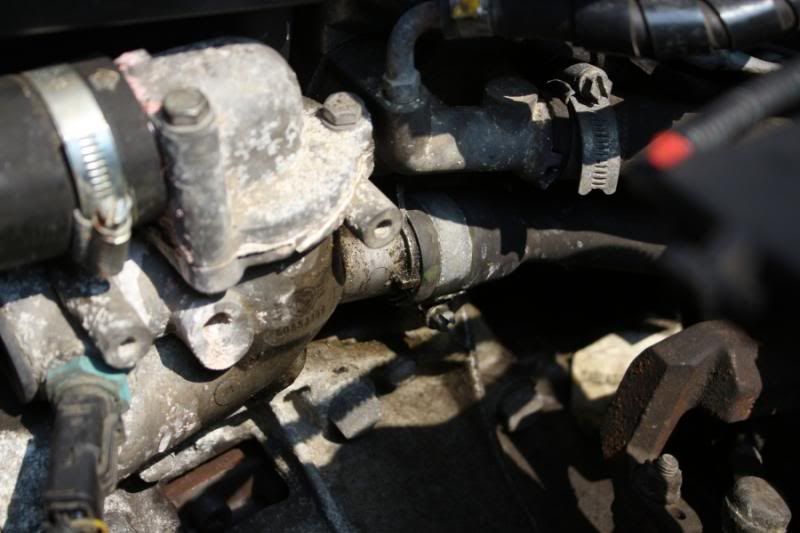
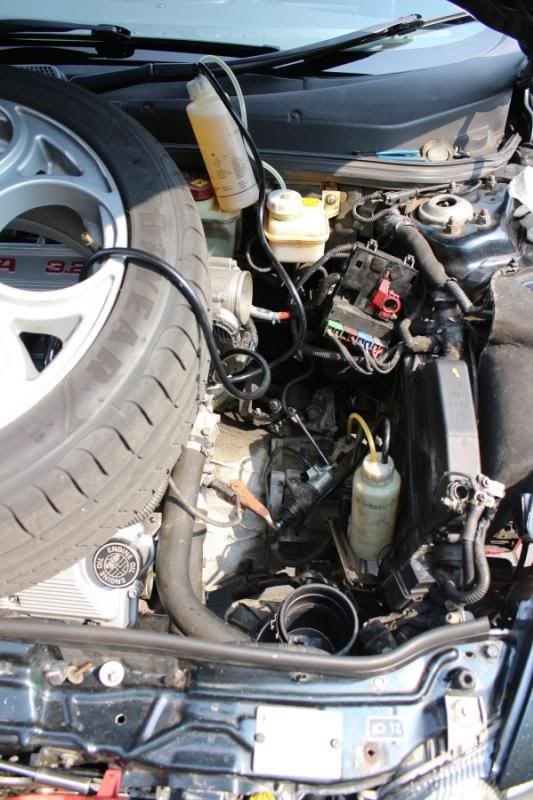
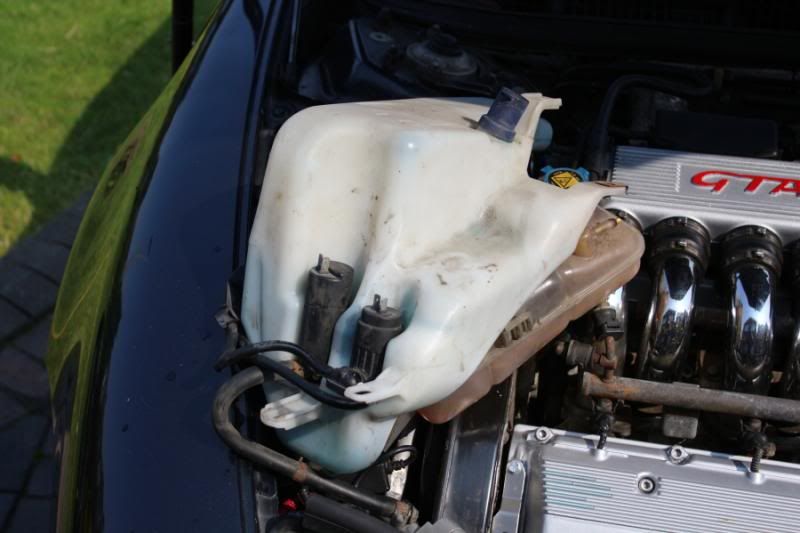
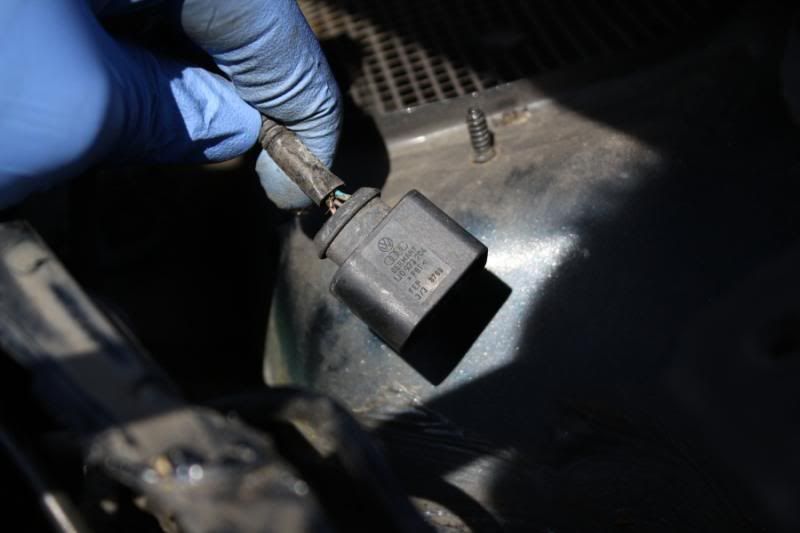
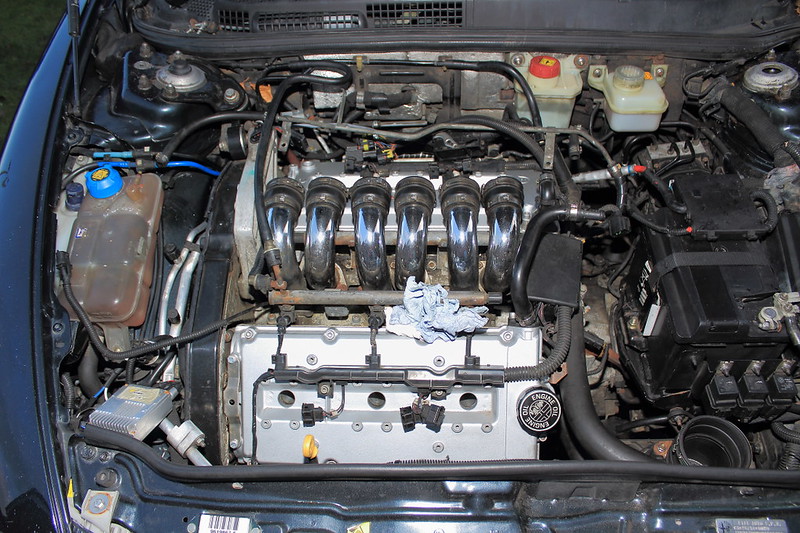
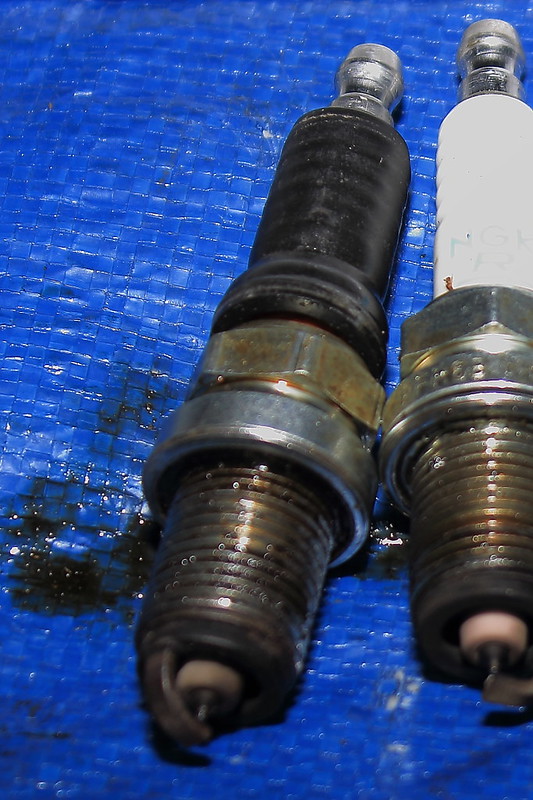
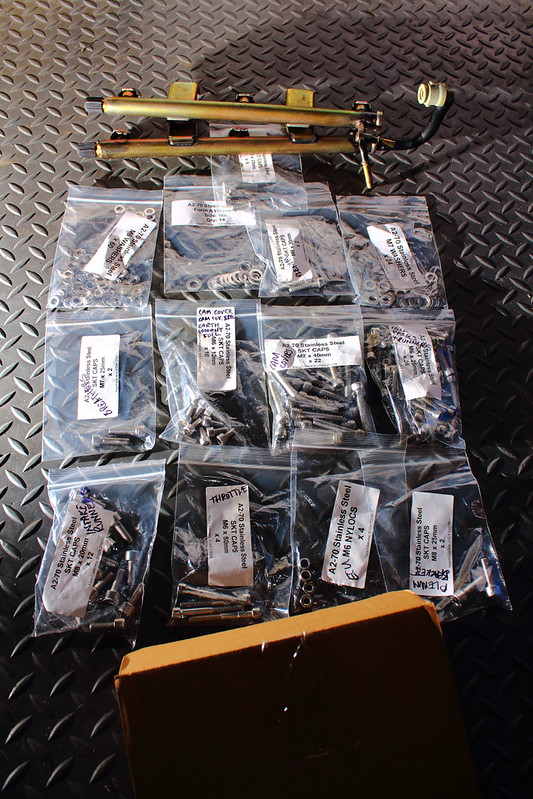
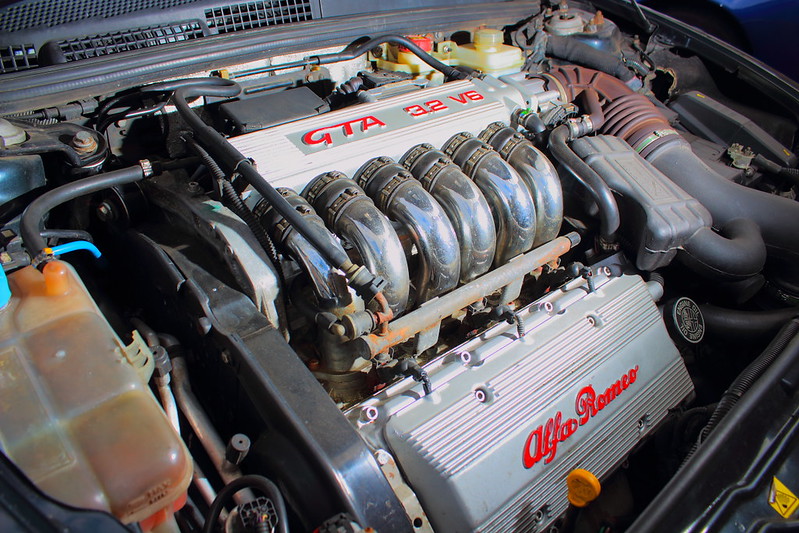
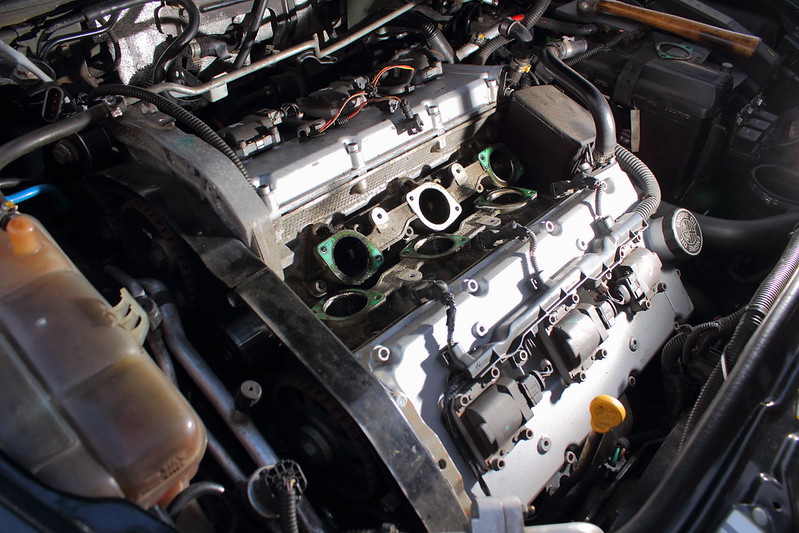
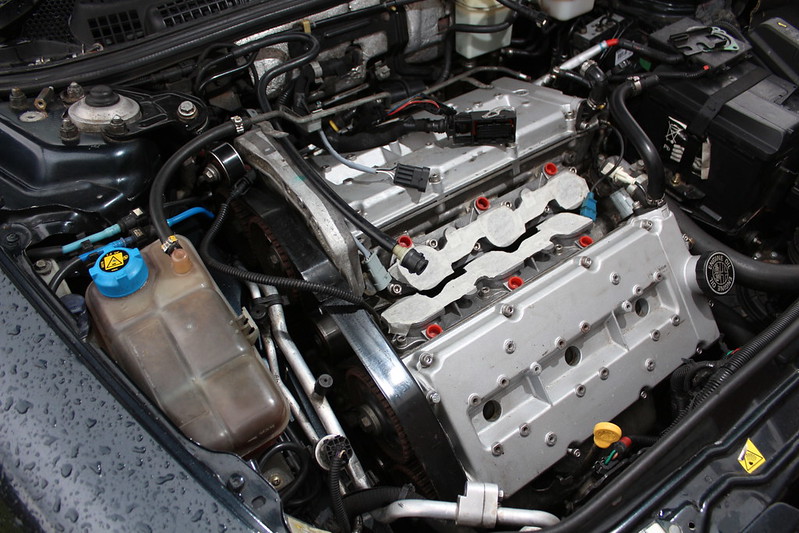
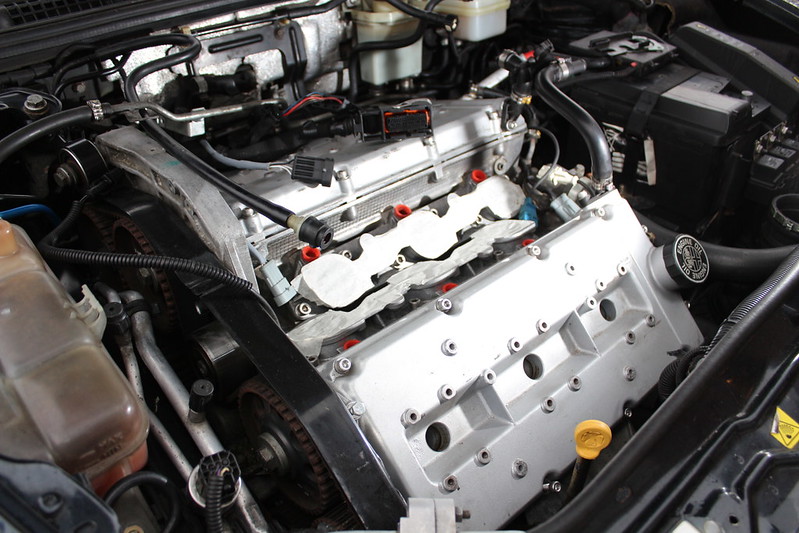
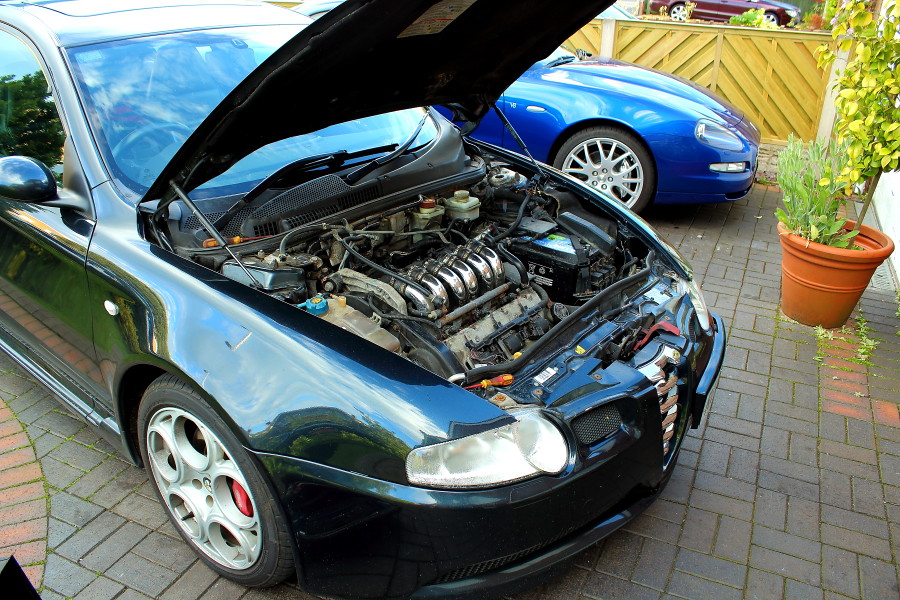
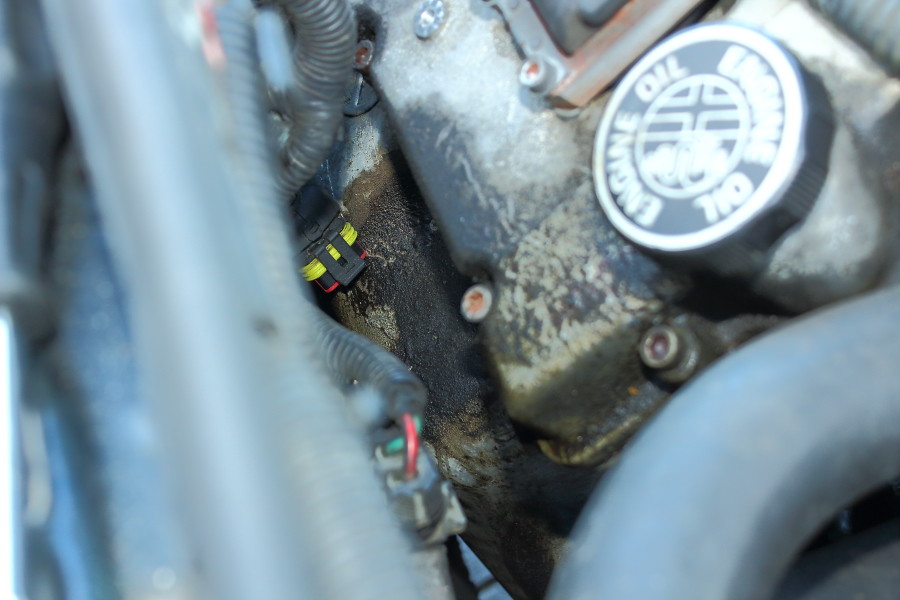
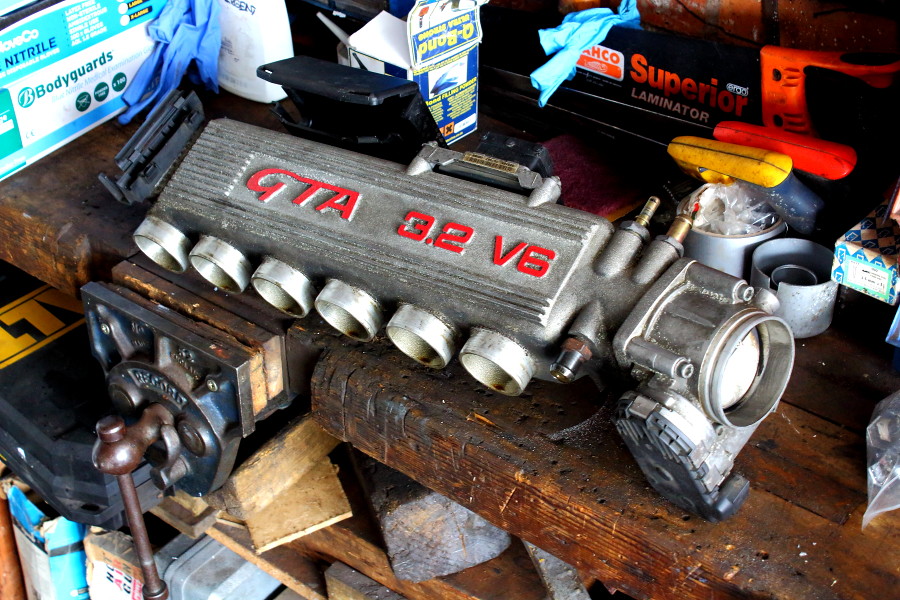
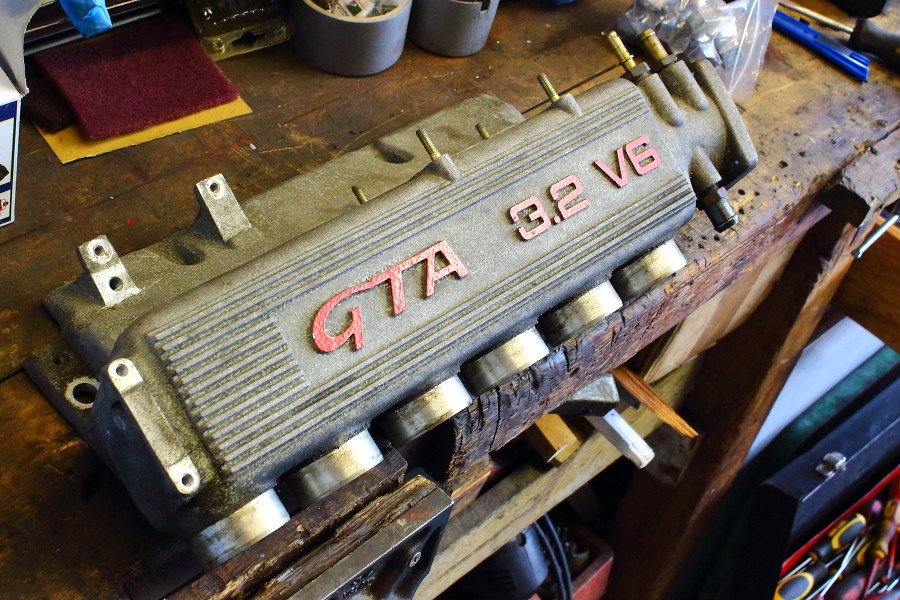
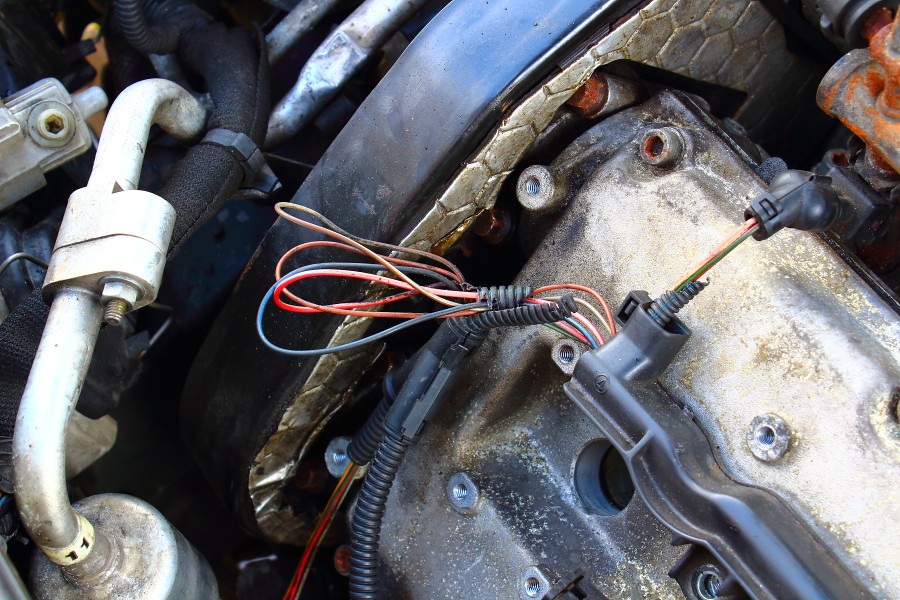
Another reason to pull the cam covers off (oil leak) Or is it just from clumsy topping up? Meh.


IMG_7113 by chris147gta, on Flickr

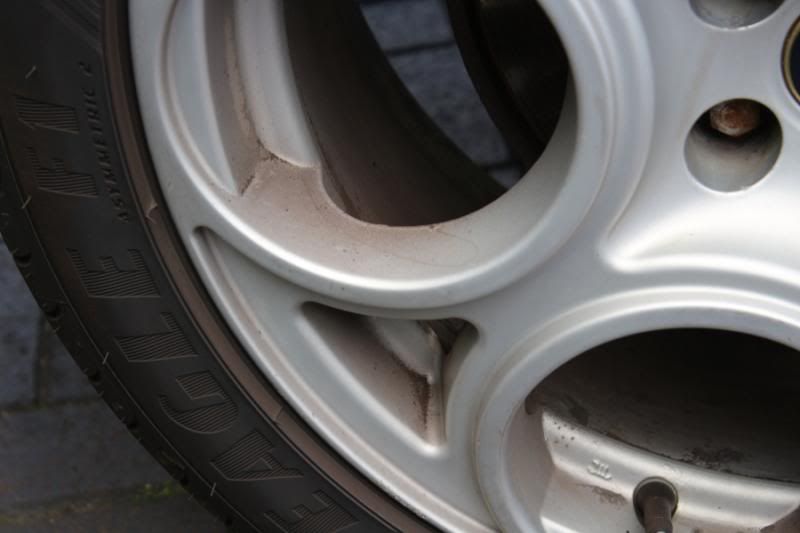
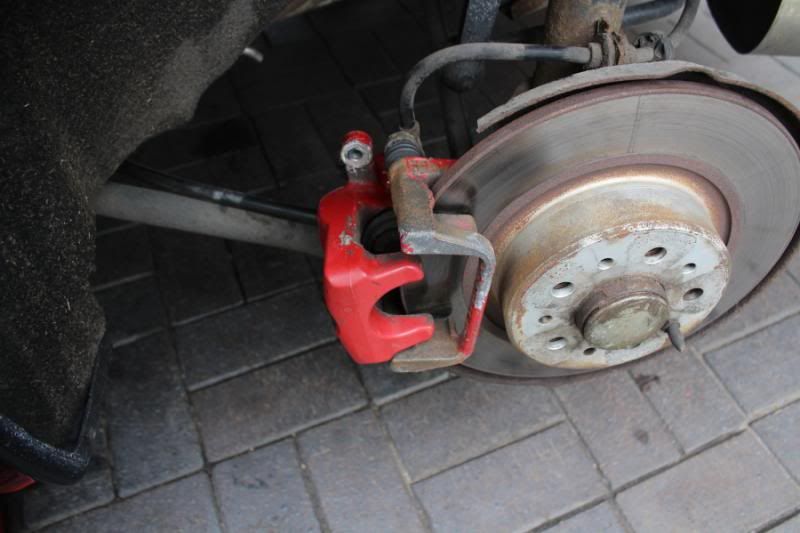
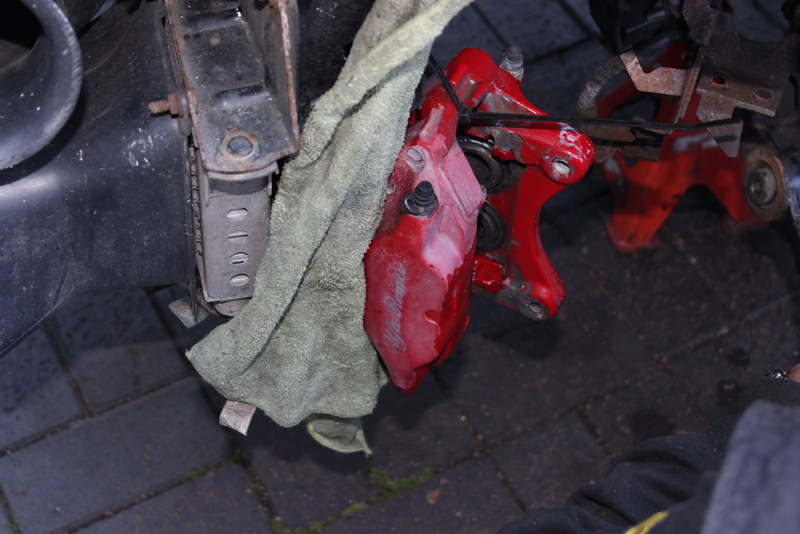
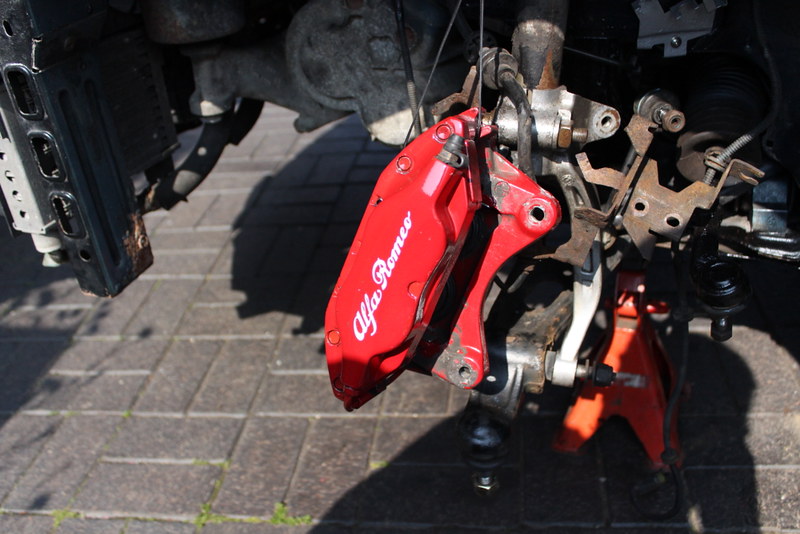
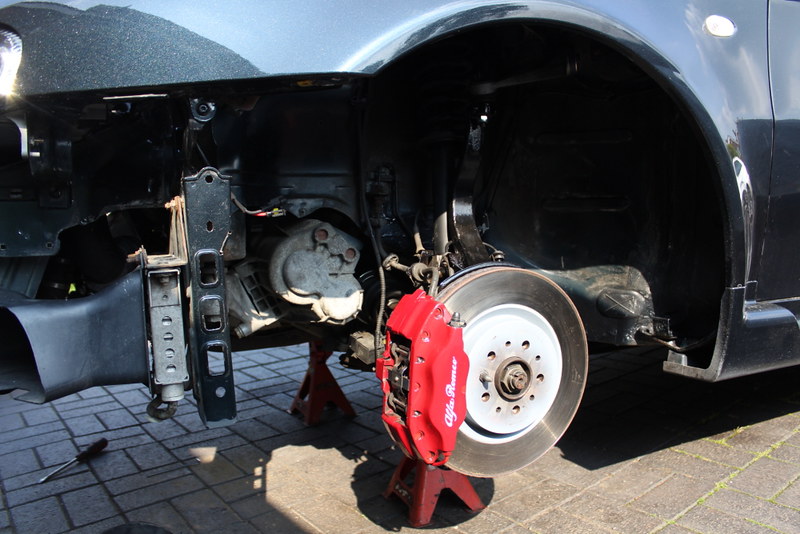
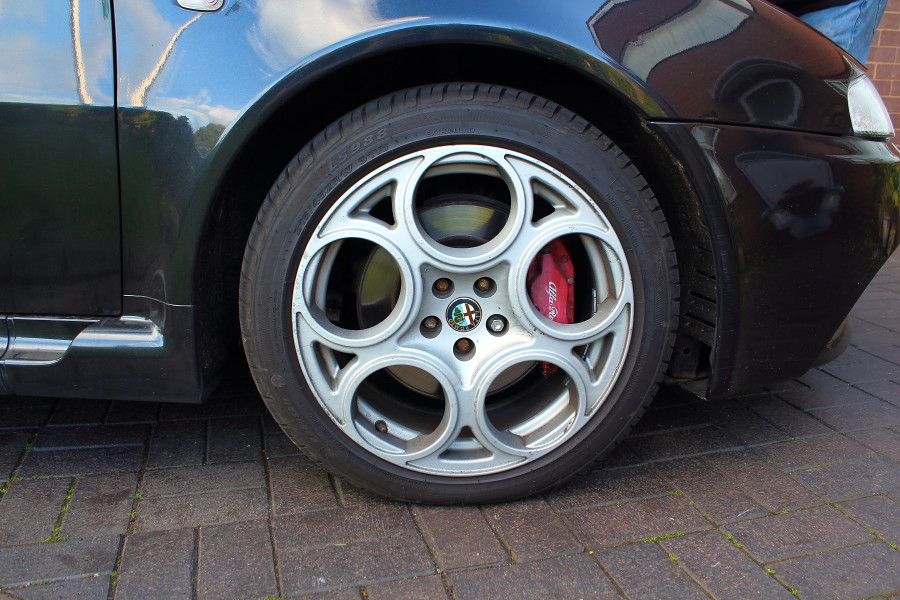
The wheels are wearing 215's for some reason and juding by the receipts it has been for most of it's life. They're also looking very dull, as are the (305mm) brakes;


IMG_7099 by chris147gta, on Flickr


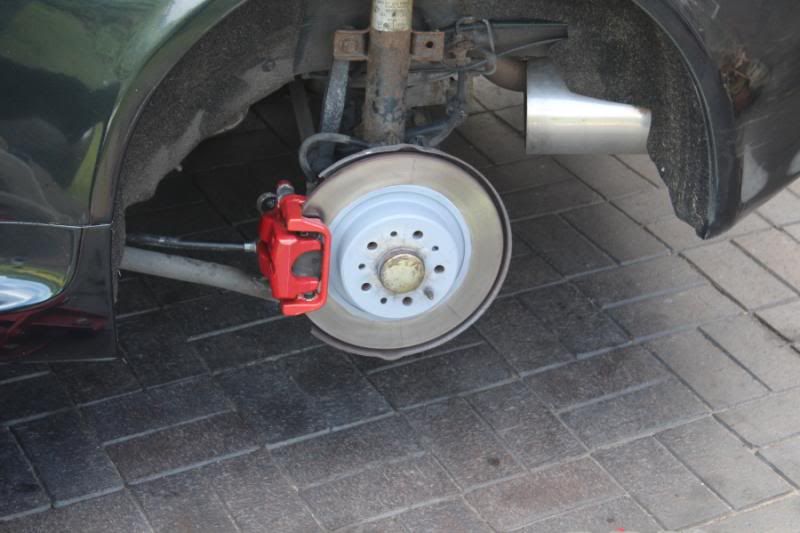
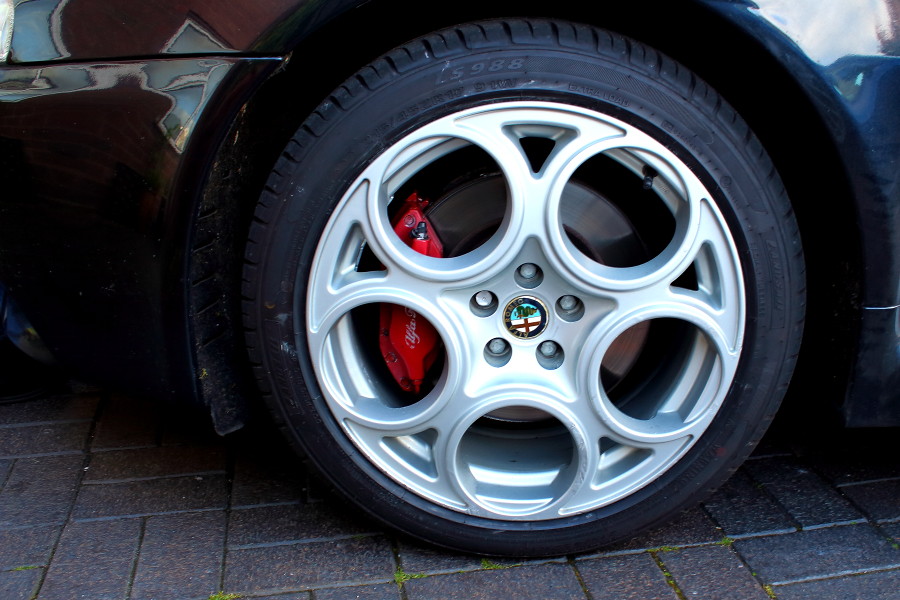
Shiney (post Dad's efforts) front wheel


IMG_7102 by chris147gta, on Flickr


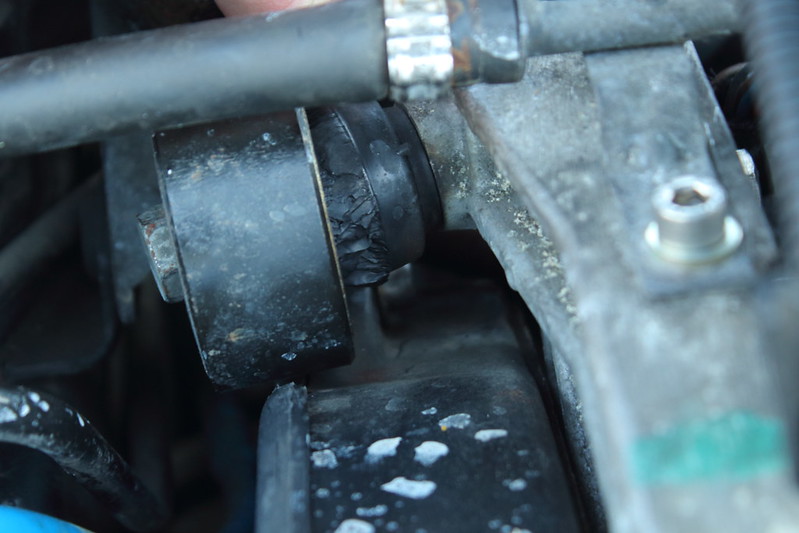
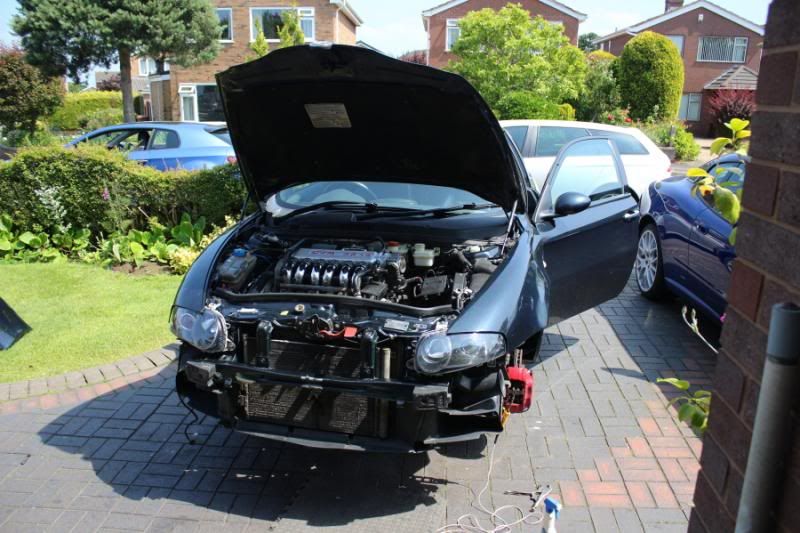
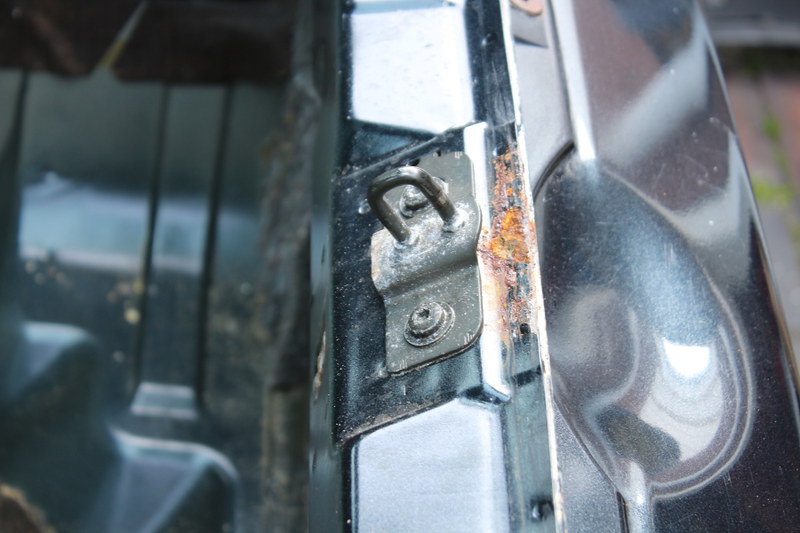
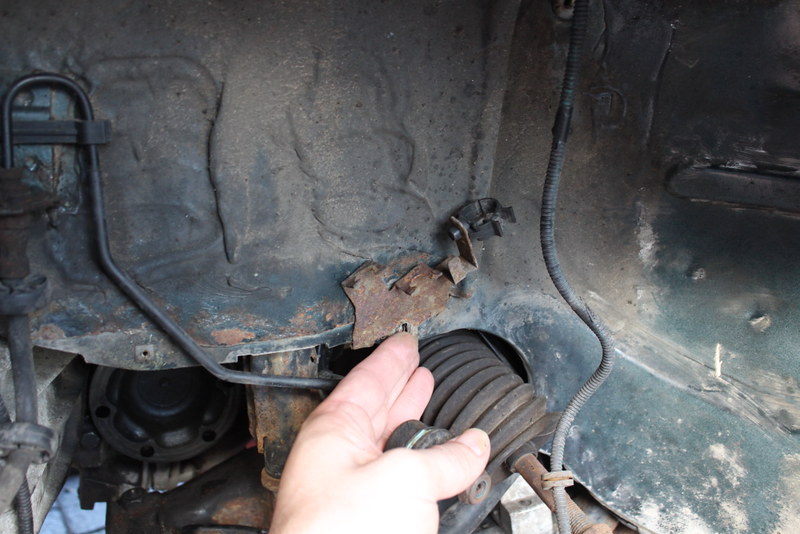
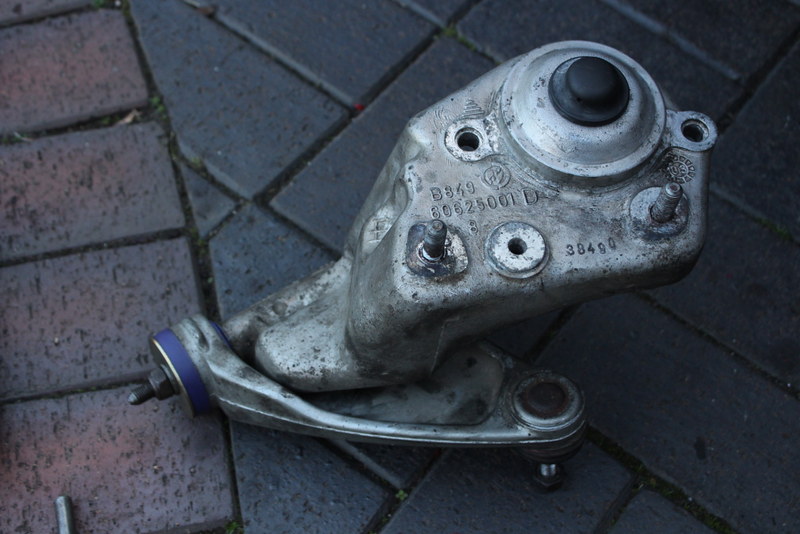
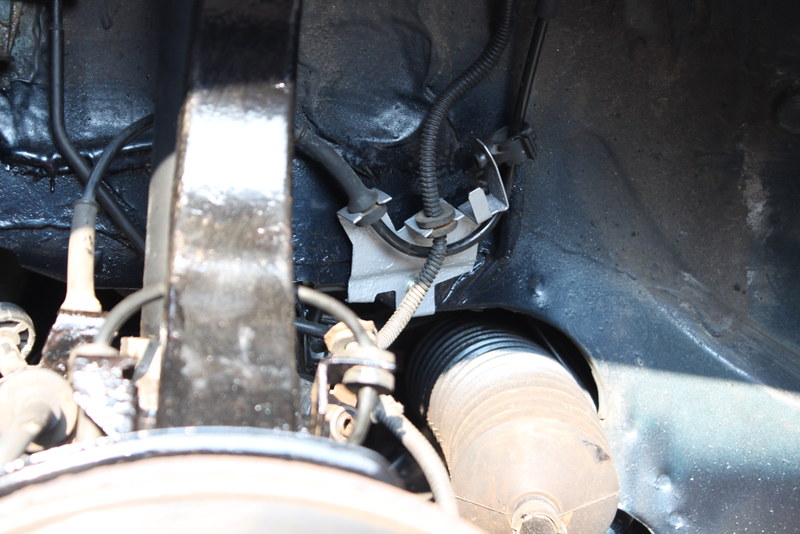
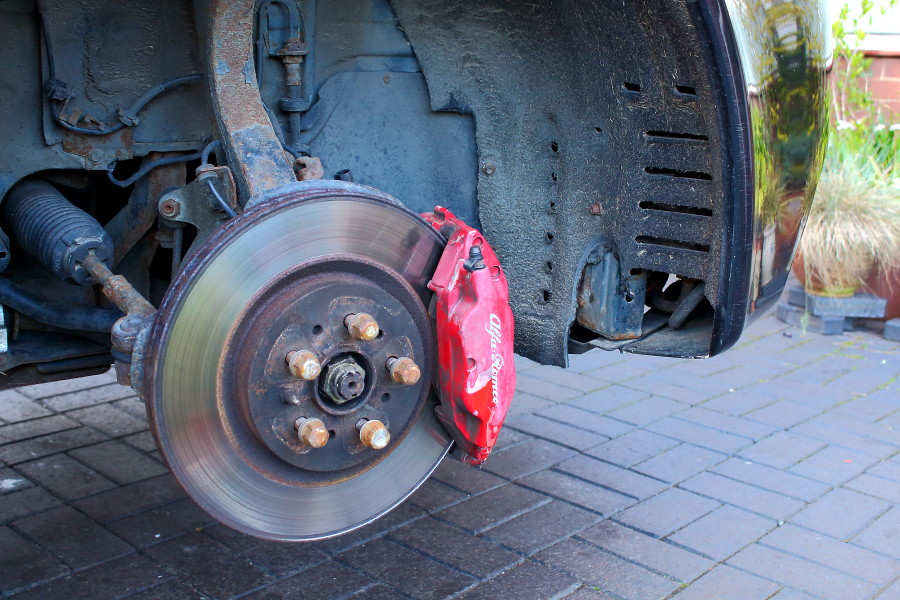
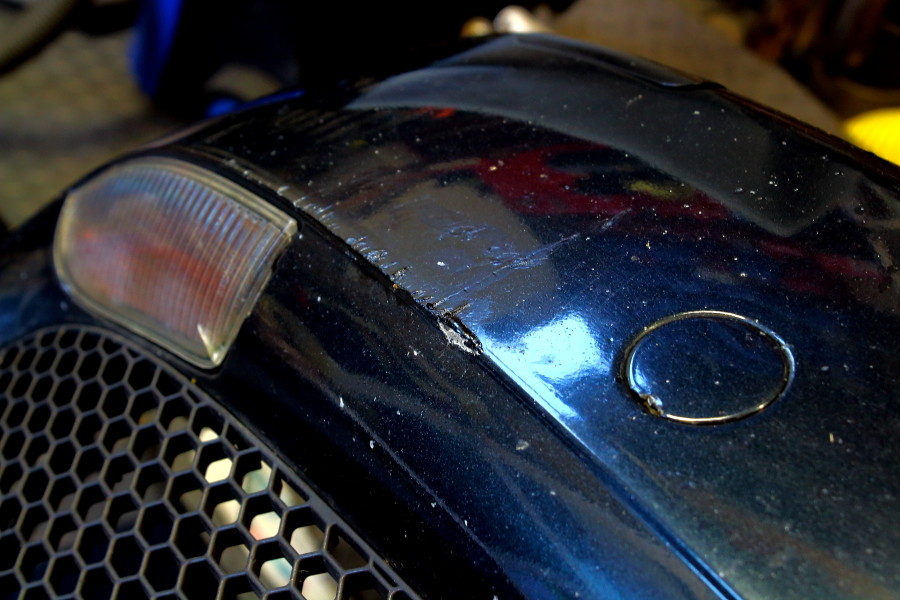
The os front keeps rubbing against the liner. The non GTA lights and used to be silver front bumper suggest front end damage but I think this is just down to the wing suppor/leg being twisted out of shape because the bolt in the bottom siezed.


IMG_7108 by chris147gta, on FlickrThe other side is equally grubby;


IMG_7107 by chris147gta, on Flickr

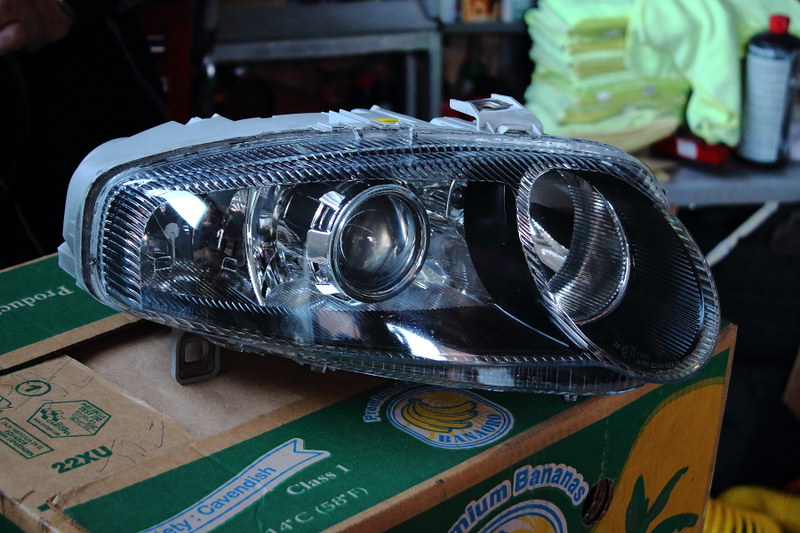
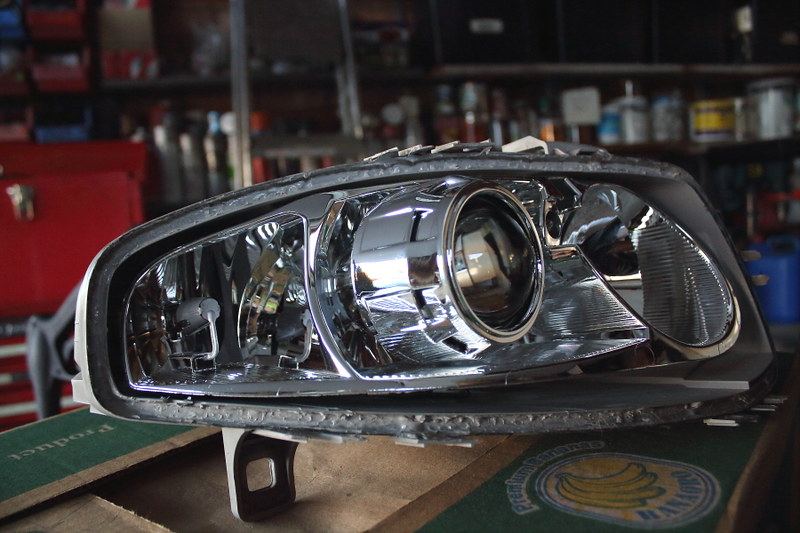
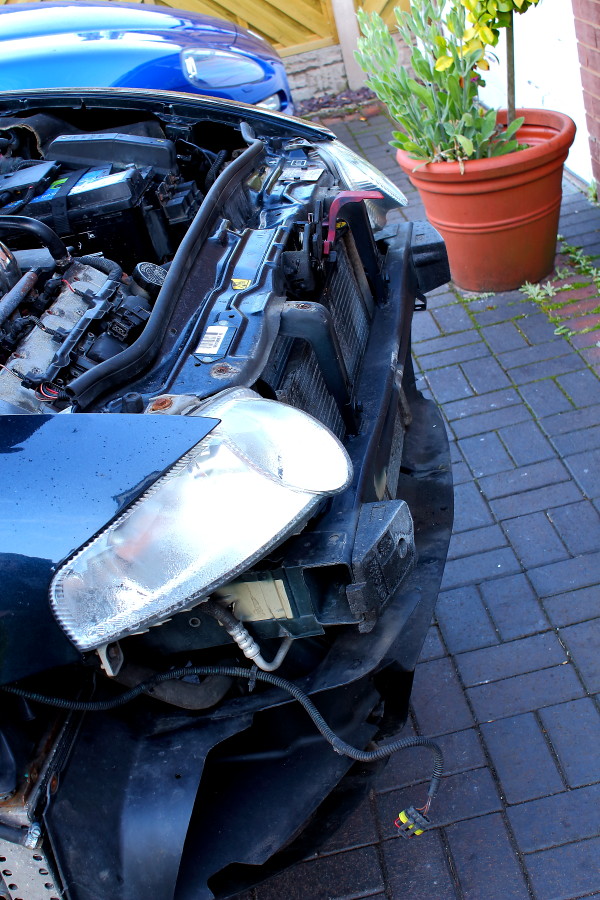
The suggestion of a light front end is also evidenced by the headlights and the moisture in one of them. The front end is straight otherwise :)


IMG_7119 by chris147gta, on Flickr


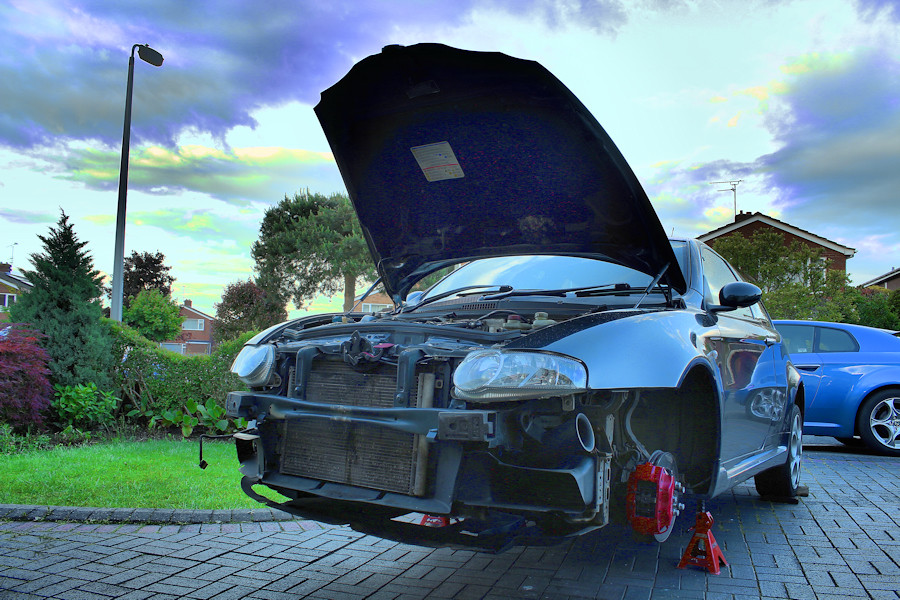
Image5 by chris147gta, on Flickr


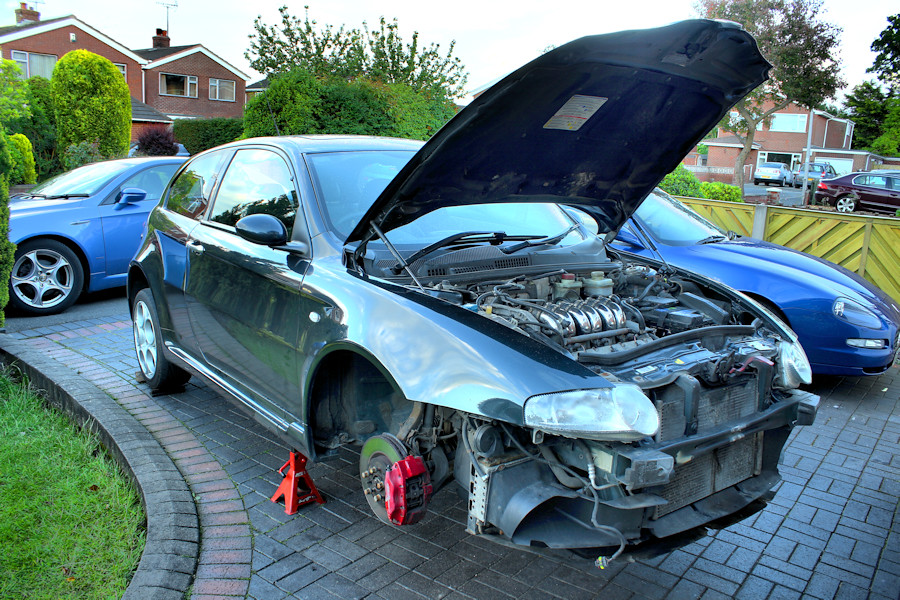
Image3 by chris147gta, on Flickr


IMG_7128 by chris147gta, on Flickr

The front bumper needs some work;


IMG_7126 by chris147gta, on Flickr


IMG_7130 by chris147gta, on Flickr


IMG_7131 by chris147gta, on Flickr


IMG_7132 by chris147gta, on Flickr


IMG_7144 by chris147gta, on Flickr


IMG_7145 by chris147gta, on Flickr


IMG_7141 by chris147gta, on Flickr


IMG_7142 by chris147gta, on Flickr

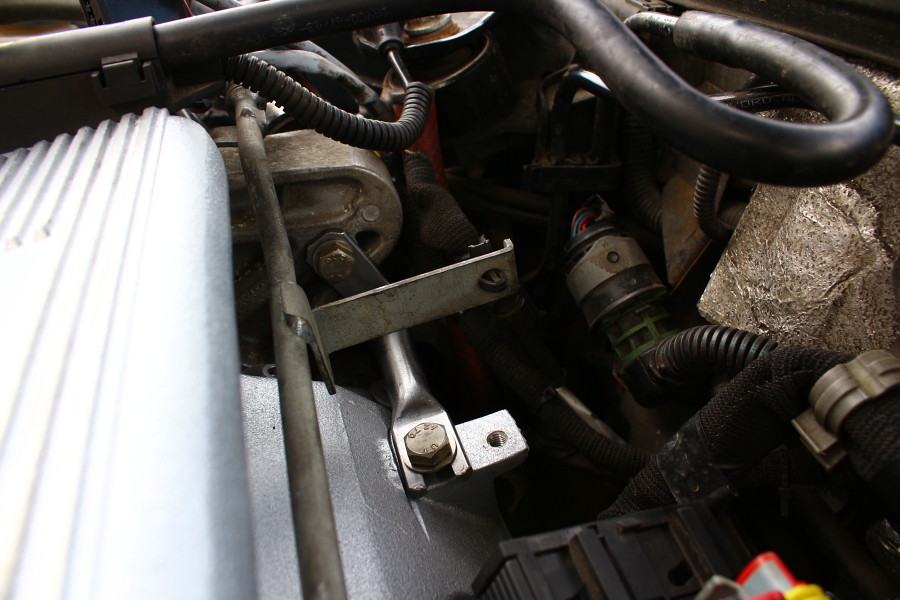
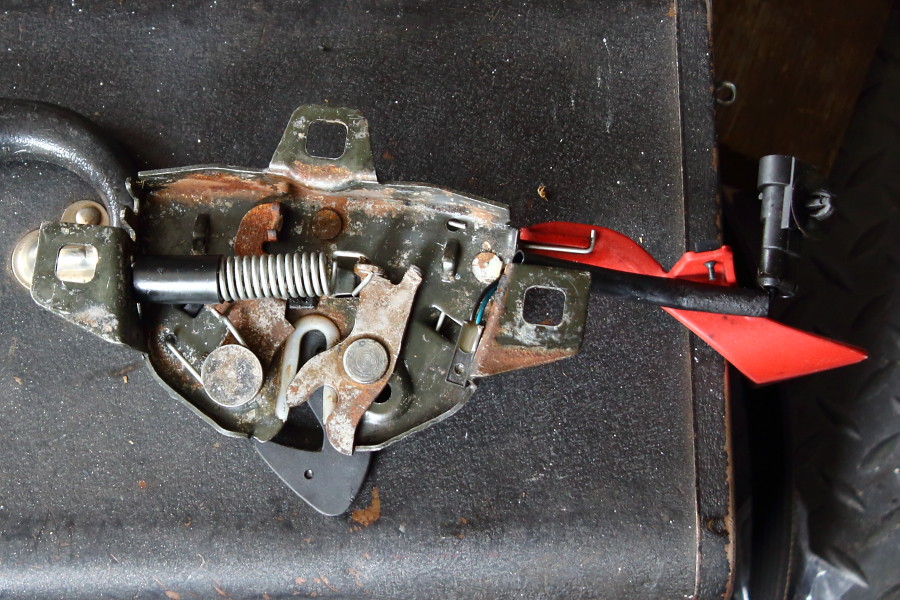
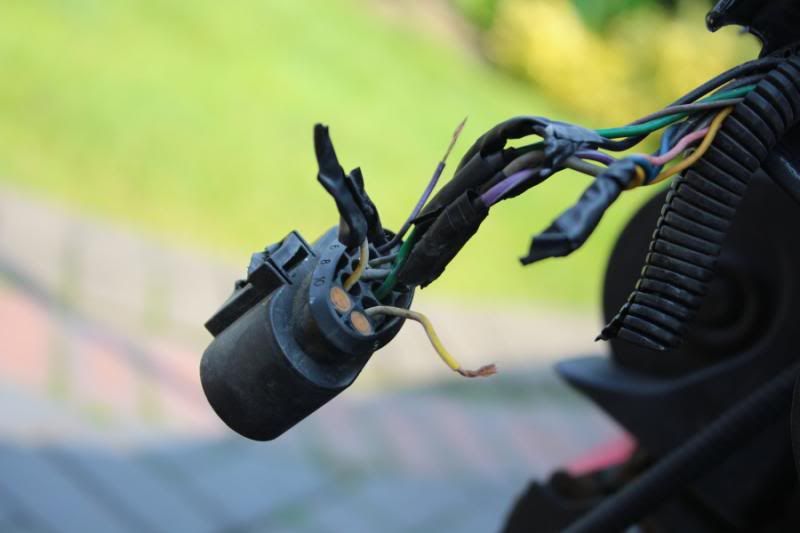
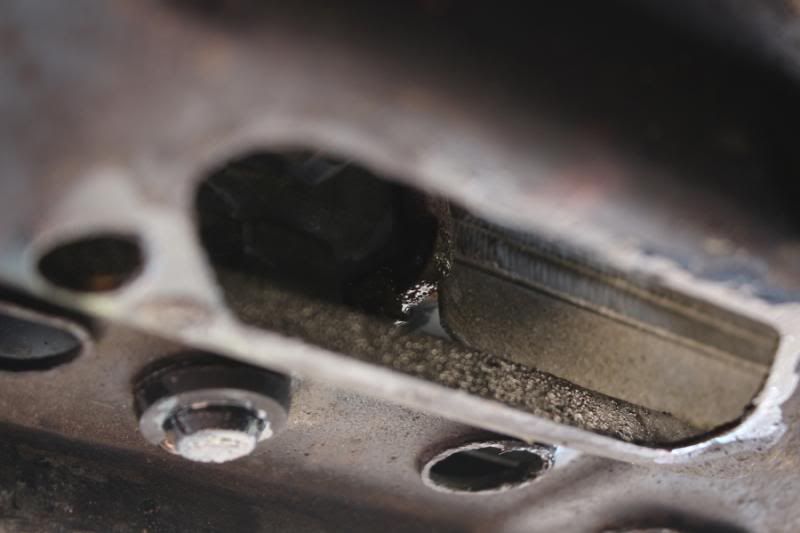
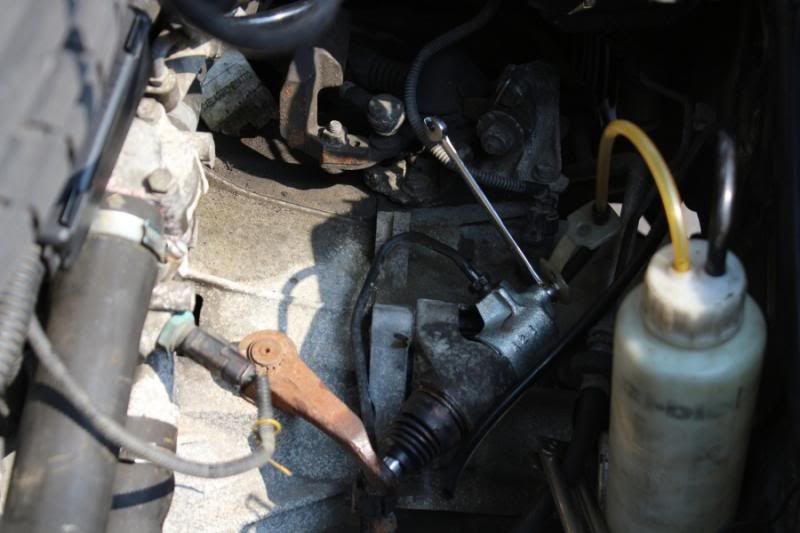
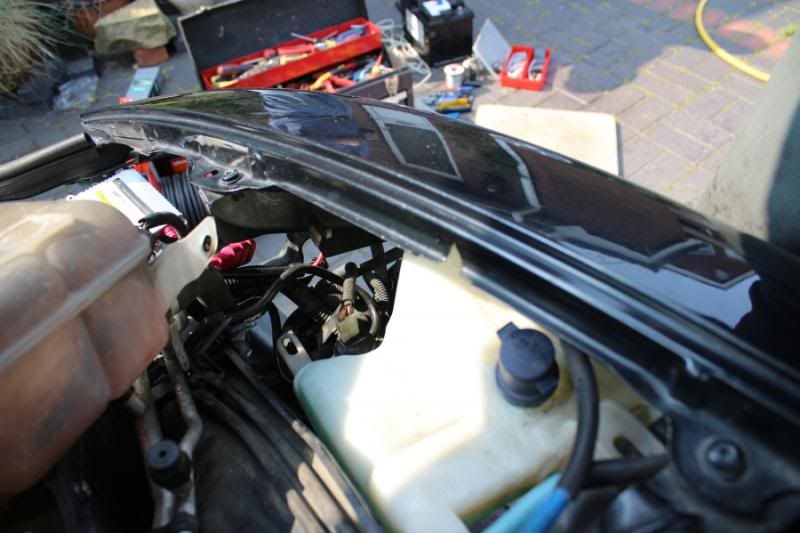
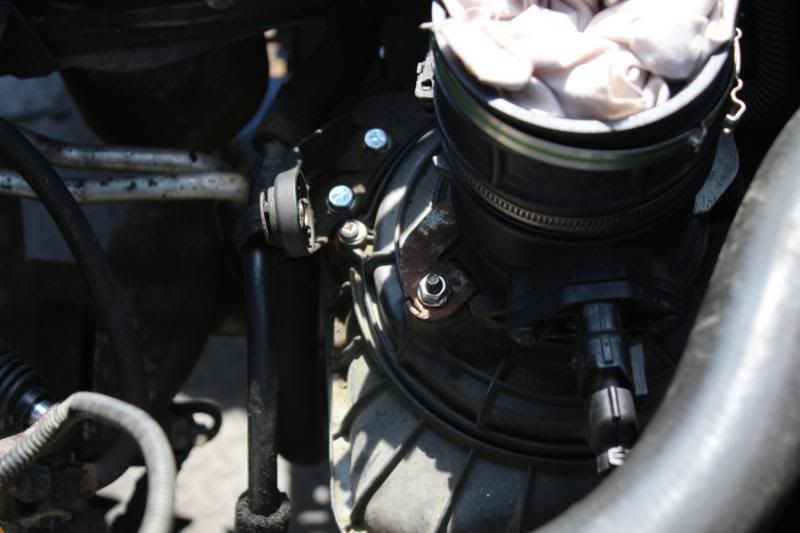
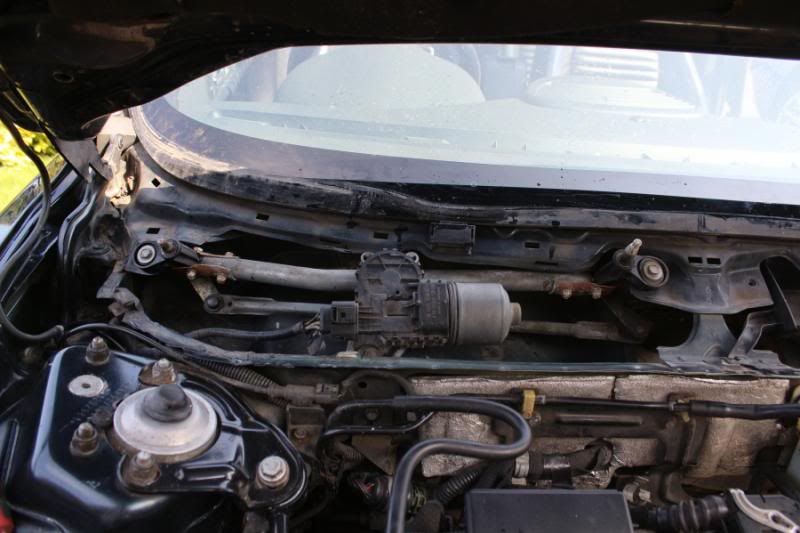
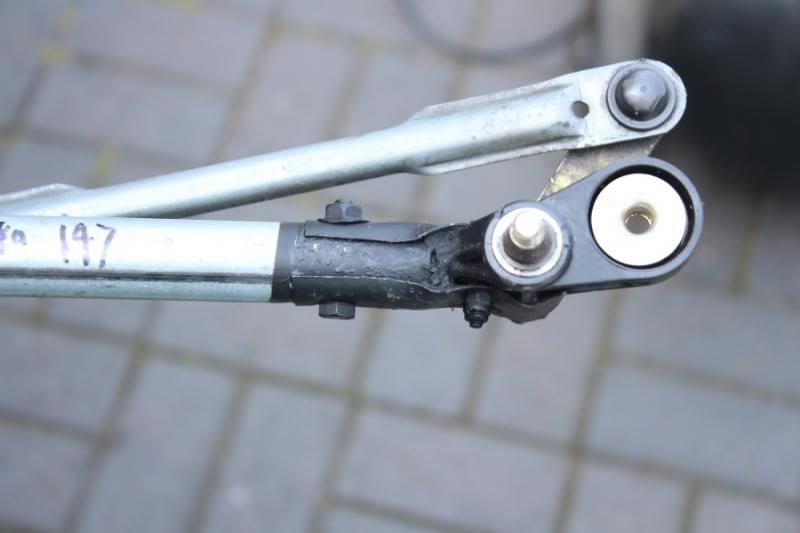
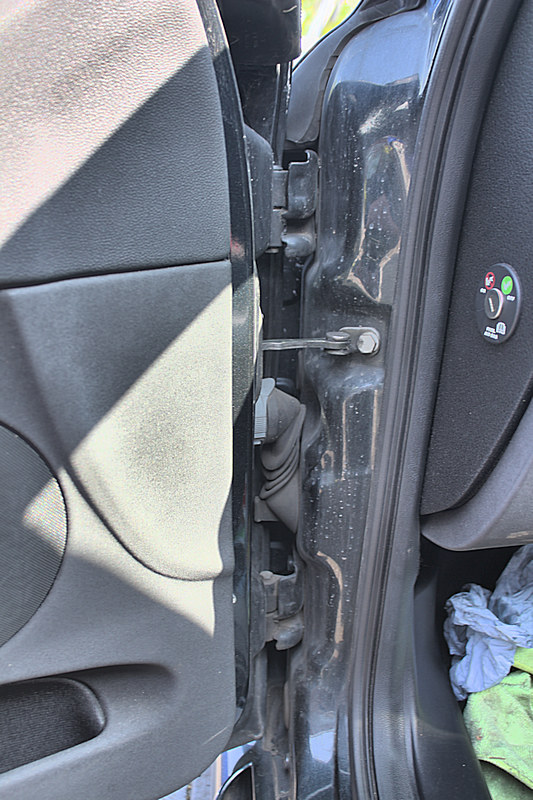
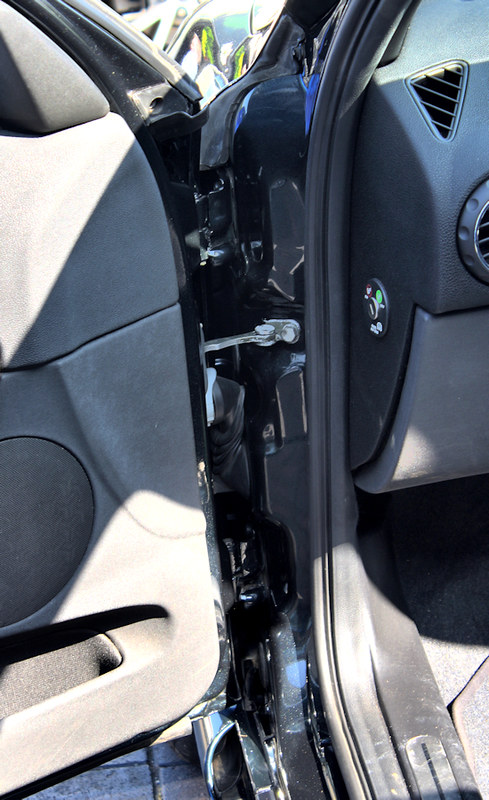
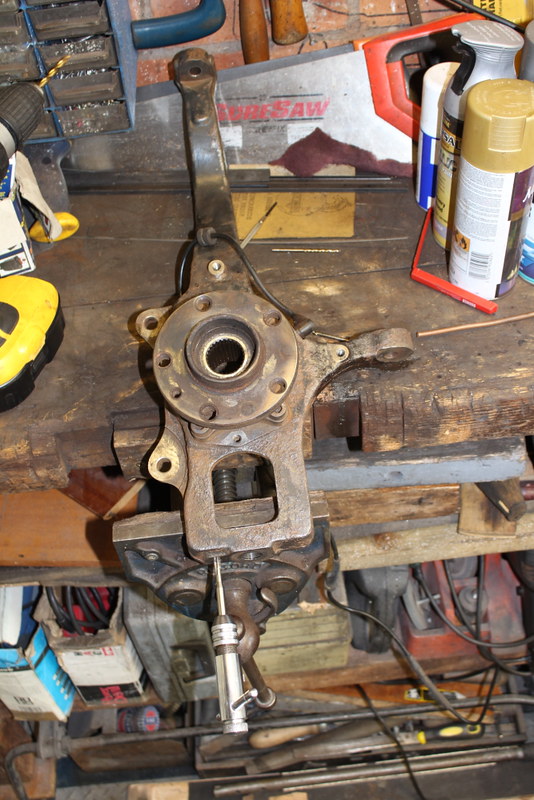
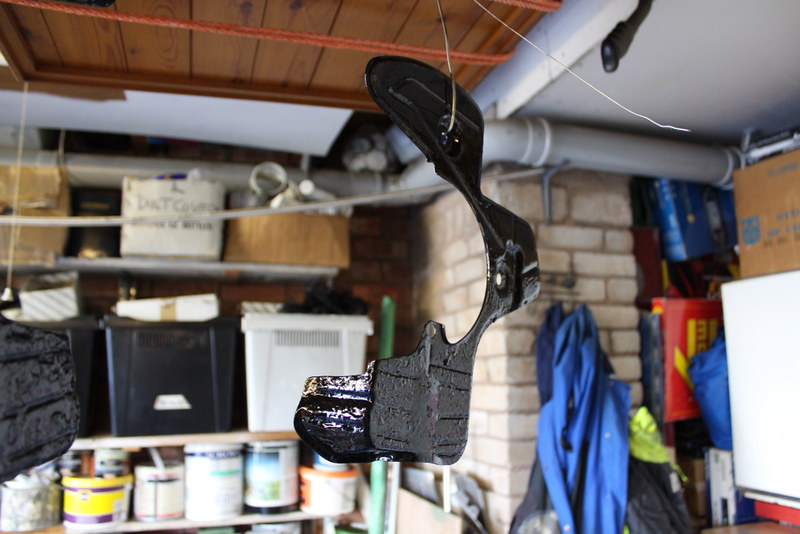
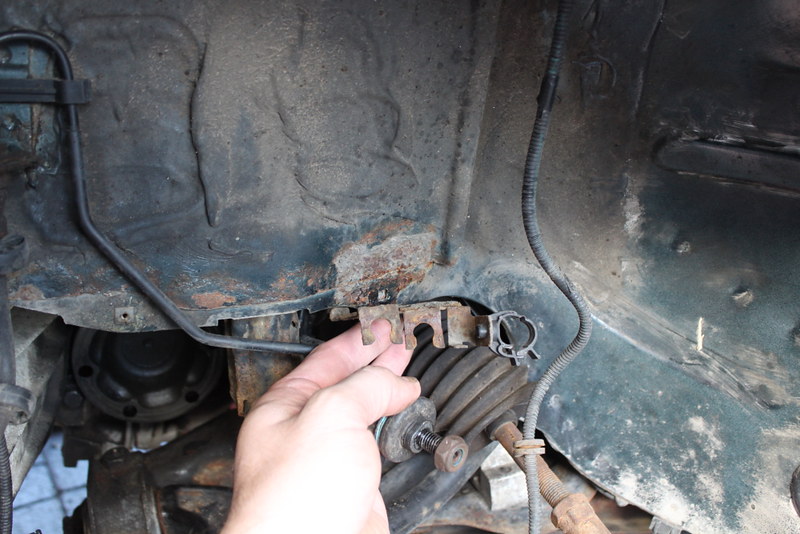
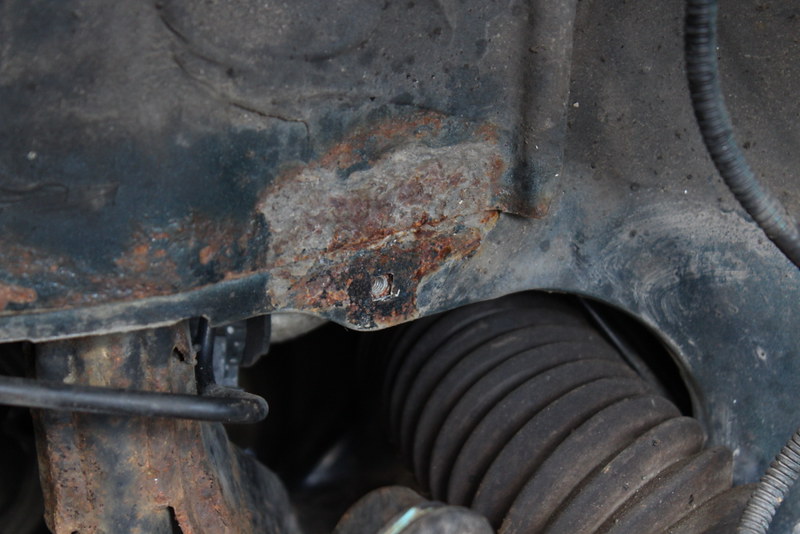
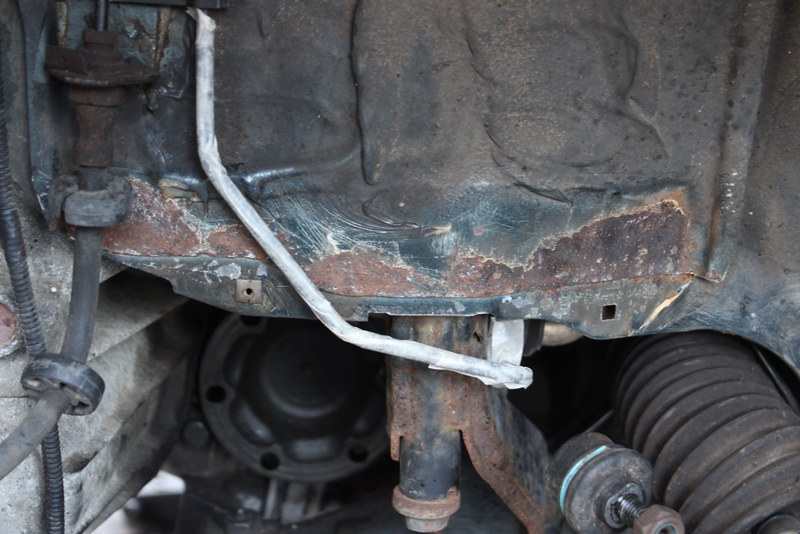
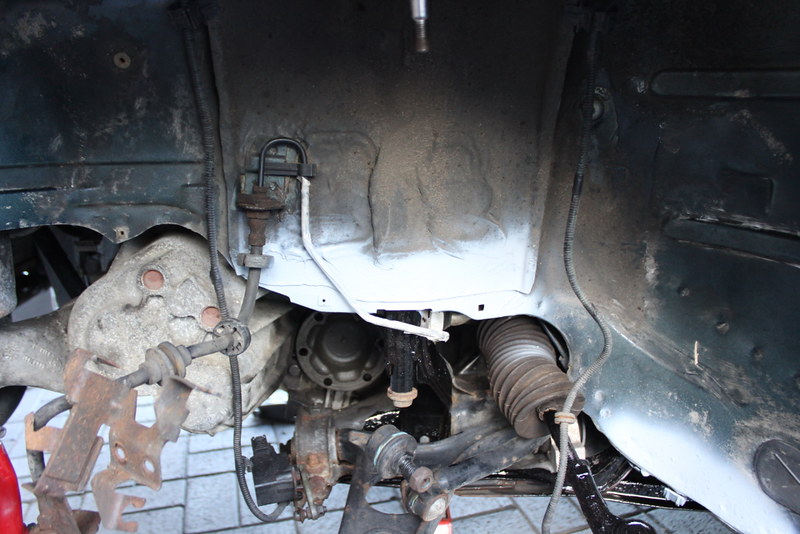
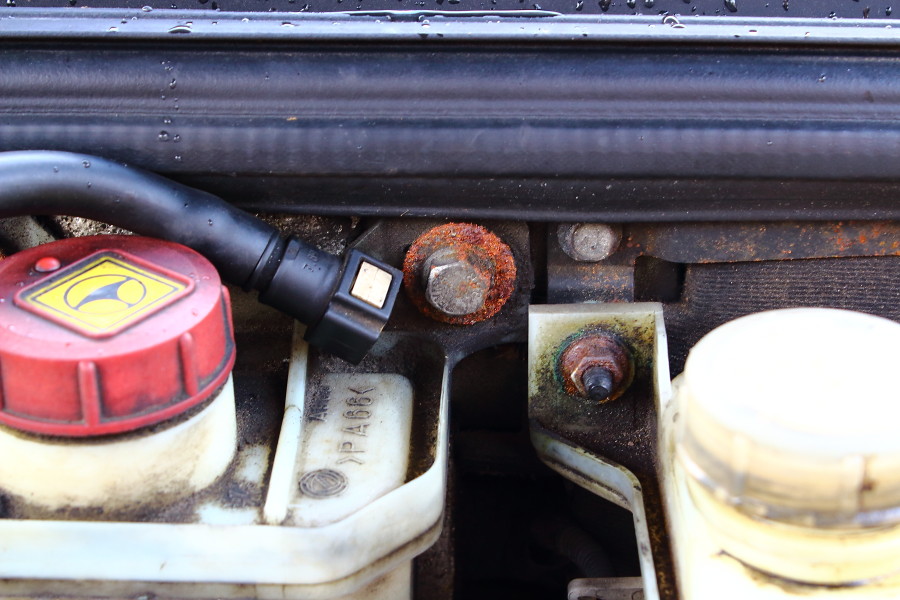
There's other bits to sort out too;


IMG_7137 by chris147gta, on Flickr
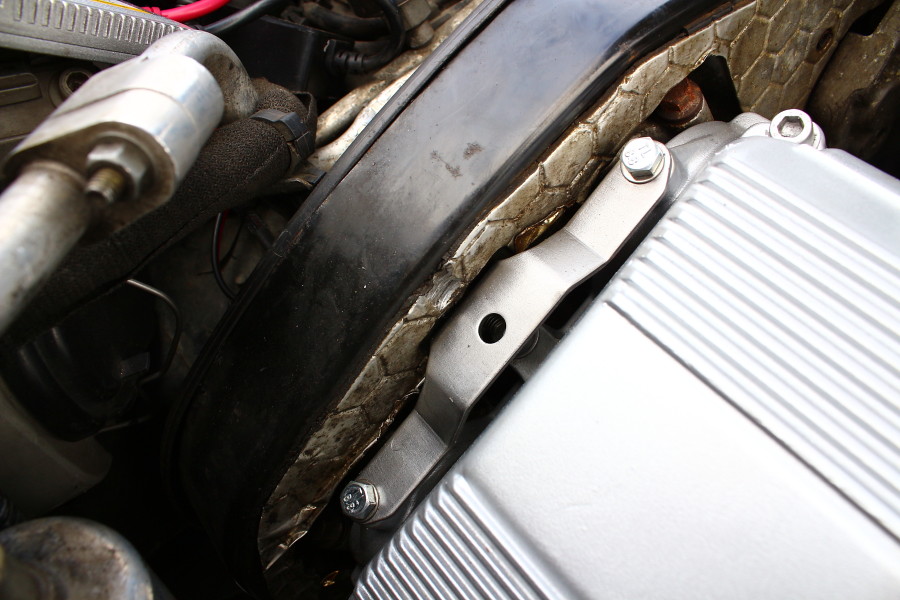
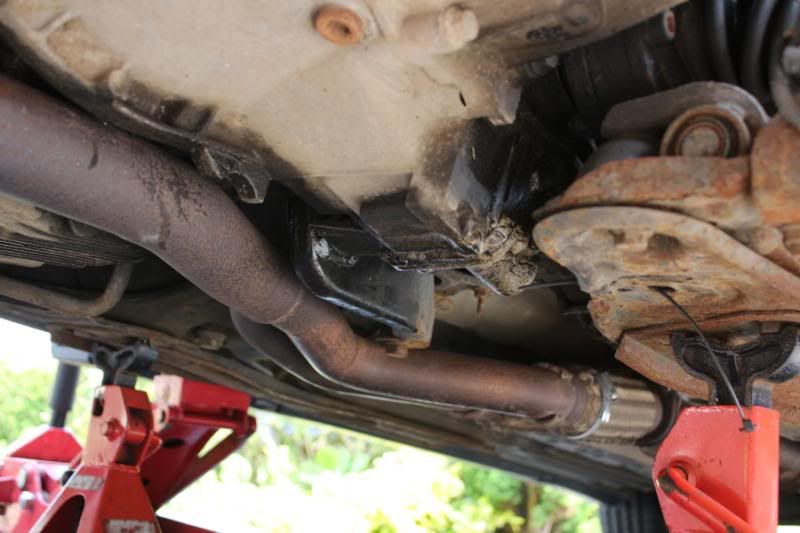
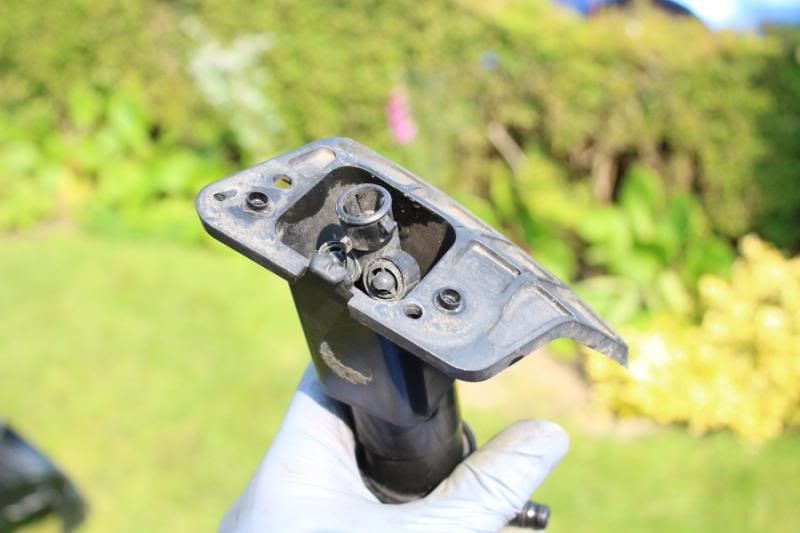
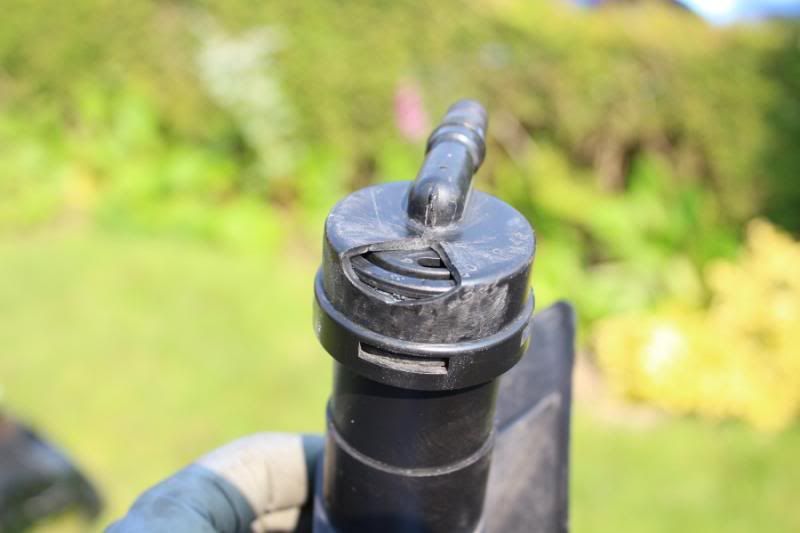
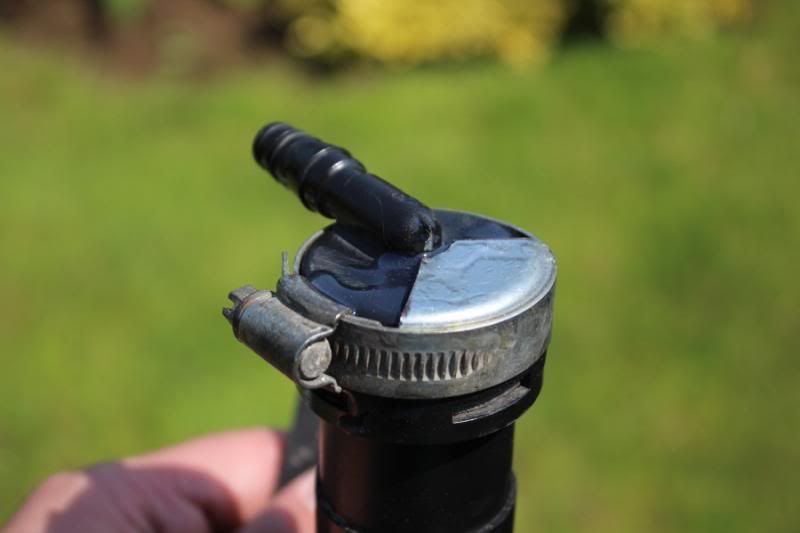
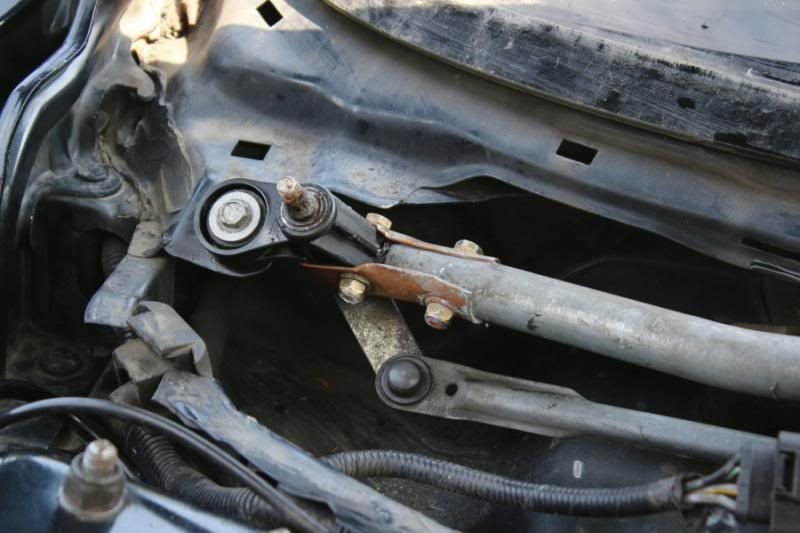
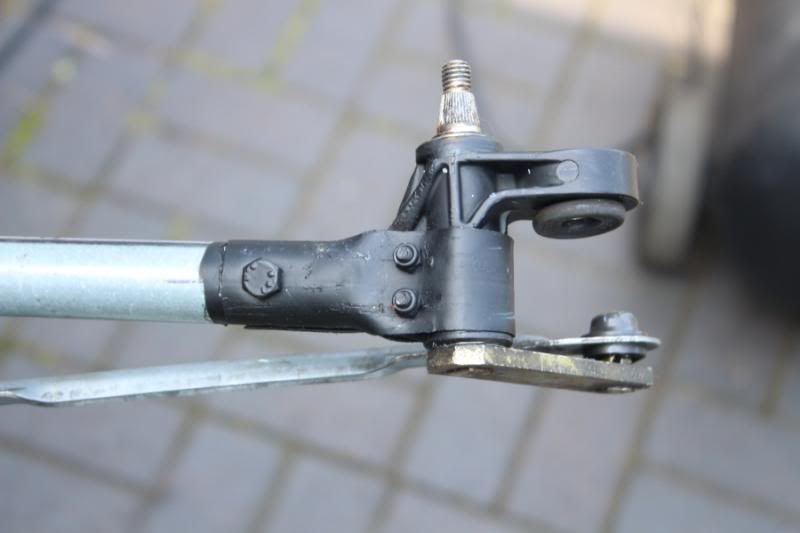
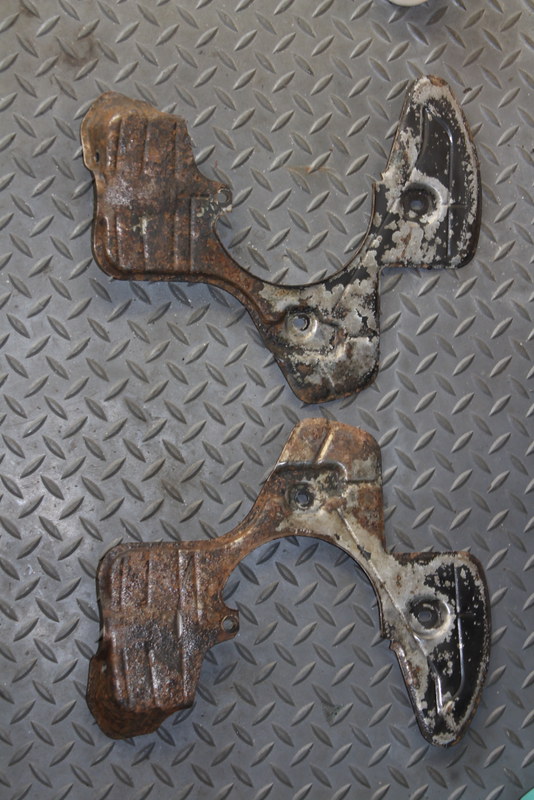
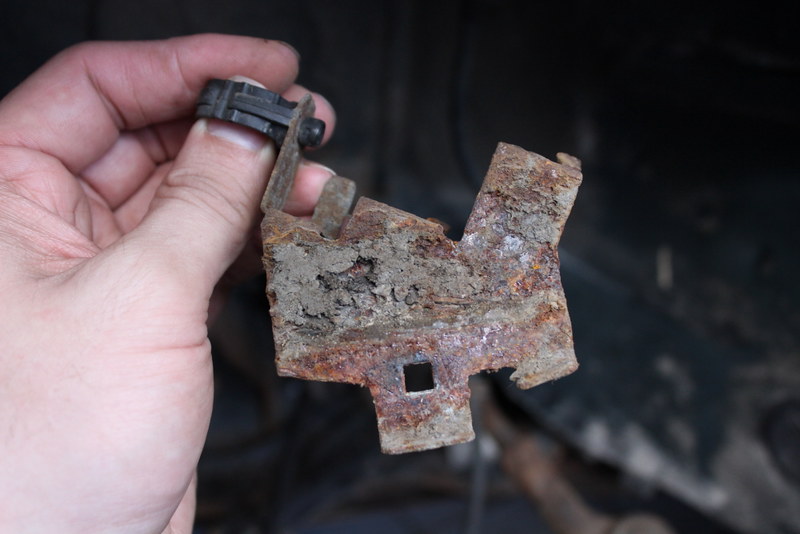

And manky bits...


IMG_7139 by chris147gta, on Flickr
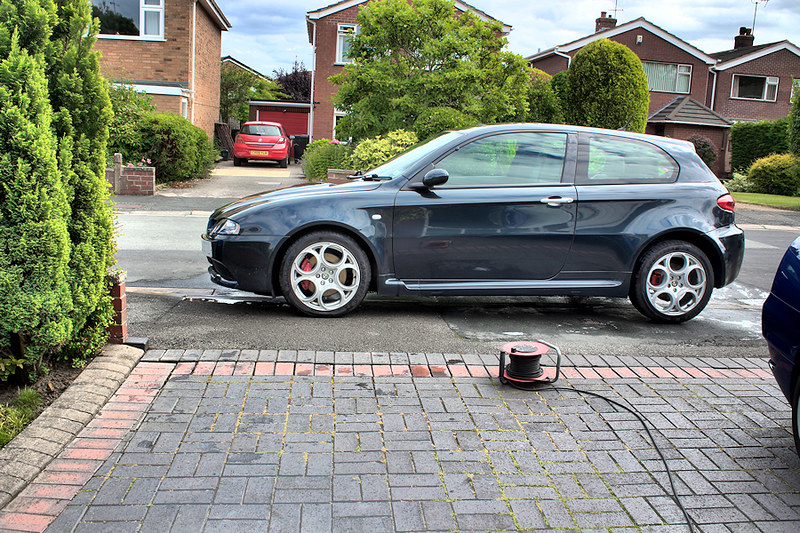
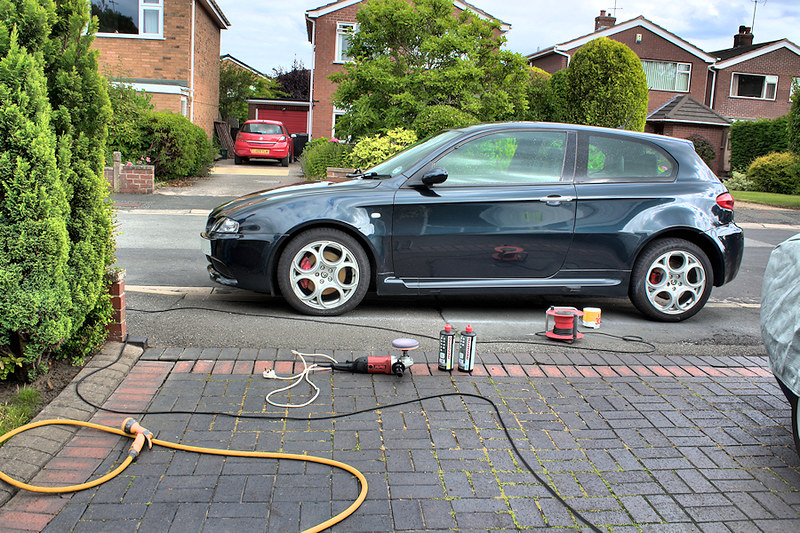
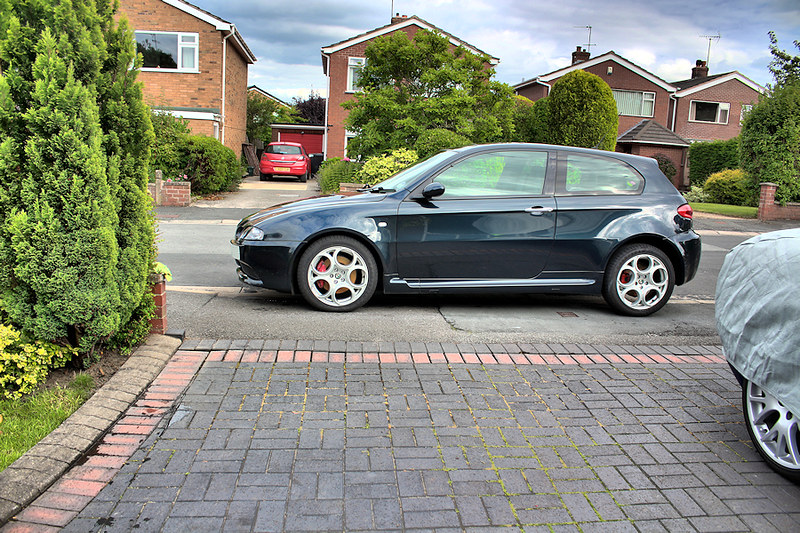
 

Chris155

Member
Messages
196
I've done the red cam covers and silver manifold & cover before, so it's OE this time...


IMG_7176 by chris147gta, on Flickr

It's by no means clean, just cleaner... New stainless bolts fitted and various brakets have been cleaned up;


IMG_7195 by chris147gta, on Flickr


IMG_7196 by chris147gta, on Flickr

I think the clean bits just highlight the rest of the mank...


IMG_7207 by chris147gta, on Flickr


IMG_7208 by chris147gta, on Flickr

Replacement GTA headlights and 5000k HID's fitted.


IMG_7211 by chris147gta, on Flickr

And the bonnet catch has been given a thorough clean...


IMG_7177 by chris147gta, on Flickr
 

Chris155

Member
Messages
196
03 July 2013

35C05465-0127-4BDC-A476-1C2CF1CDCA19-281-000000374286E652.jpg


After playing 2nd fiddle to the 75 over the weekend (Still haven't been able to bleed the sodding brakes!) I was obliged to look at it last night. - Finished work and wandered over to my mate's garage to work on it.

Replacement front pipes fitted (flexi's were blowing)
New handbrake cables fitted (cable snapped sunday)

Tonight I mostly fitted a denison ipod link and usb port;


IMG_7388 by chris147gta, on Flickr


IMG_7390 by chris147gta, on Flickr


IMG_7406 by chris147gta, on Flickr

The engine mount I ordered yesterday turned up today so I fitted that too, pic is of the worn out one (obviously)...


IMG_7393 by chris147gta, on Flickr

And my Dad has been busy;


IMG_7397 by chris147gta, on Flickr


IMG_7401 by chris147gta, on Flickr


IMG_7403 by chris147gta, on Flickr
 

Chris155

Member
Messages
196
5th July 2013

The car was fitted with OE xenons and has the levelling system. But it's been "modified" to take standard headlights. I had the day off today, spent 8 hours working on it with my dad but I don't feel like I've really achieved anything.

We started by taking the bumper off, again, and looking the original wiring to the OE xenons so that we understood what had been done.

IMG_7412.jpg


IMG_7409.jpg


On finding it my dad sighed and said "I'll go and get the wiring diagram"...

I've obviously got some problems with the clutch and this doesn't look good in terms of the gearbox's health;

IMG_7414.jpg


But on further investigation it may be coming from elsewhere;

IMG_7413.jpg


I also found another slight leak. - These newfangled alloy radiators don't appear to be worth it. The bottom rail is made of steel by the looks of it. It's corroded and the radiator looks like it has a leak from the bottom nearside corner. Ill be replacing that with a bogo copper one!

*wonders whether the thermal conductivity of copper is better than alloy.

IMG_7417.jpg


Last time I looked at the clutch slave I did think about swapping it out but I can't remember if I did or not. Thought it would be worthwhile trying one before ripping the engine out to change the clutch and cambelt...

IMG_7418.jpg


IMG_7419.jpg


I took the pictures before apply pressure to the eazi bleed and before the lid on the reservoir started leaking brake fluid everywhere. #frantic 5 mins dragging the hose pipe out to wash it all off the underside of the car.

I knew the headlight sloshers didn't work from previous expeditions behind the bumper;

Top

IMG_7424.jpg


Bottom (broken bit)

IMG_7423.jpg


Again my dad, rather ingeniously has repaired it *touch wood* using a bit of a core plug, some araldite and a hose clip. I thought I'd taken a pic of it but apparently I haven't.

The windscreen washers and the rear washer don't work very well. They're a bit limp at best. I thought it might be a problem with the pump but testing and replacing it has proven otherwise. We think it could be a problem with the non return valves but I can't see both of them failing.

IMG_7422.jpg


IMG_7425.jpg


Looking forward to fitting the projector lens lights tomorrow. :)
 

Chris155

Member
Messages
196
6th July 2013

So here's the repaired headlight washer;

IMG_7429.jpg


And the new lights fitted;

IMG_7431.jpg


Repaired air box;

IMG_7432.jpg


We then went off looking at why the windscreen and rear wash wipe don't work very well. The front washer jets were just clogged with dirt, a blast with the air line has sorted them out. We also investigated the wiper mechanism;

IMG_7433.jpg


IMG_7434.jpg


Not a bad repair but the one my dad had repaired previously is a stronger job;

IMG_7435.jpg


IMG_7436.jpg


Bulk head was pretty grubby so I cleaned that up;

IMG_7438.jpg


IMG_7442.jpg


And what the **** is this heracey?!!!!


IMG_7441.jpg


(It's an unused connection on mine but is, on some cars, connected to some sort of sensor related to the climate control and auto demist.)

We found the problem with the rear wash wipe when we opened the boot and found the bootlid was fu of water. The washer housing was cracked so that's been replaced with the new motor mechanism as the bit that was cracked was integral.

I then went to check that the engine would still start after all the playing we'd been doing. I did but with the MCSF warning. Hooked it up to fECUs and that showed a fault with the throttle pedal potentiometer. It will only read up to 25% of its travel. Interestingly it won't rev at all if you have your foot on the brakes. I would presume this is an inbuilt precaution just in case a fault causes it to say its 100% open.

I can tell you that removing one is a hatefull stand on your head job.
 

Chris155

Member
Messages
196

Chris155

Member
Messages
196
20th July 2013

When I say 'we' I again mean my dad has been cleaning the matt finish wheels with g3, menzurma and touching in the numerous marks. I did make an effort today (I've had been having problems with my back again) and I did clean one of the wheels up... The gave it to my dad to finish off lol...

IMG_7514.jpg


IMG_7508.jpg


IMG_7509.jpg


IMG_7510.jpg


IMG_7512.jpg


IMG_7515.jpg
 

Chris155

Member
Messages
196
And as of November 2013...

Not done much with it tbh since August / September...

Just the following;

Rebuilt the drive shafts;


IMG_8169 by chris147gta, on Flickr


IMG_8171 by chris147gta, on Flickr


IMG_8194 by chris147gta, on Flickr


It was looking a bit tatty behind the arch lines and knowing they corrode in this area we did a little clean up job;


IMG_8178 by chris147gta, on Flickr


Which included the uprights. As per the norm, the bolts holding the disc shields on snapped


IMG_8179 by chris147gta, on Flickr


IMG_8180 by chris147gta, on Flickr


IMG_8192 by chris147gta, on Flickr


The bolts that hold the brake hose bracket also snapped
;


IMG_8182 by chris147gta, on Flickr

These brackets are just trouble...


IMG_8183 by chris147gta, on Flickr


IMG_8184 by chris147gta, on Flickr


IMG_8185 by chris147gta, on Flickr


IMG_8187 by chris147gta, on Flickr


IMG_8189 by chris147gta, on Flickr


Poly bushed the upper wishbones...


IMG_8190 by chris147gta, on Flickr


The calipers received some attention too (before)


IMG_8191 by chris147gta, on Flickr


Zinc'ed and primed;


IMG_8195 by chris147gta, on Flickr


IMG_8198 by chris147gta, on Flickr


IMG_8200 by chris147gta, on Flickr


IMG_8203 by chris147gta, on Flickr

I've also fitted a new radiator and alfatune equal length front pipes. :D
 

Chris155

Member
Messages
196
I've not been happy with the throttle response I've been getting from it since I bought it, particularly on downshifts whilst braking, it wont rev up high enough.

It's also had a reoccuring misfire which we've been trying to diagnose without much success. Last time around I think I checked the cam timing, compression, maf, lamda's, checked the coil pack resistances and replaced the plugs.

But, it's been getting worse. It was logging fault codes for multiple misfires on cylinders 1 2 & 3.

So, knowing it needed other work and having accumulated several days worth of time owed in work, I had Friday off to investigate the matter...


IMG_9925 by chris147gta, on Flickr

The first thing I found was this bet of rubber wrapped around no 1 spark plug...


IMG_9931 by chris147gta, on Flickr

It's the bit of rubber that is supposed to hold the plug into the socket wrench I used to fit them last time around... [:$] Oooops.

I don't think it was the root cause of the fault codes though.

I'd imagine that a failed coil pack on no 2 may be a prime candidate;


IMG_9928 by chris147gta, on Flickr

This was all I could find this time around. I then moved onto the other pressing issue we'd Identified...


IMG_9993 by chris147gta, on Flickr

Which was fixed with these [:D] ....


IMG_9994 by chris147gta, on Flickr

But not before all the unions where doused in rost-off several times over a 36 hour period - it pee'd down on Saturday, ******** to that!


IMG_9926 by chris147gta, on Flickr

But even the magic release fluid didn't entirely work. The rear pipe unions proved to be difficult but we did evetually pesuade 'em to part company with the OE hoses.

Shiney new ones fitted...


IMG_9995 by chris147gta, on Flickr

'Course, as I couldn't be bothered doing anything with it on Saturday, it took till 7pm on Sunday to finish it off. It felt warmer that the 1 deg c the car was showing though. [LOL]


IMG_9997 by chris147gta, on Flickr

I've not had chance to try it on the road since - Slow puncture being fixed, but it is idling much better and the brake pedal seems firmer. Fingers x'd.
 

Chris155

Member
Messages
196
So, I've acquired some stainless bolts as part of a group buy on AO which included the m7's that hold the cam covers on which has prompted me to pull the engine apart and give it a clean...


IMG_2540 by chris147gta, on Flickr

Before;


IMG_2528 by chris147gta, on Flickr

During;


IMG_2542 by chris147gta, on Flickr


IMG_2581resized by chris147gta, on Flickr


IMG_2578resized by chris147gta, on Flickr


IMG_2597resized by chris147gta, on Flickr


IMG_2609resized by chris147gta, on Flickr


IMG_2573resized by chris147gta, on Flickr