


davidhowson
Junior Member
- Messages
- 474
I have been waging a bit of a battle with my car to get the GSM phone to work, but finally after much messing about, I have done it; and this time the unit talks to me, as my previous attempt left me with no spoken commands on the sat nav!
For those of you who may want to look inside the arm rest of a 4200, here is how to do it and what you will find. Useful for all kinds of audio fiddling about kind of projects!
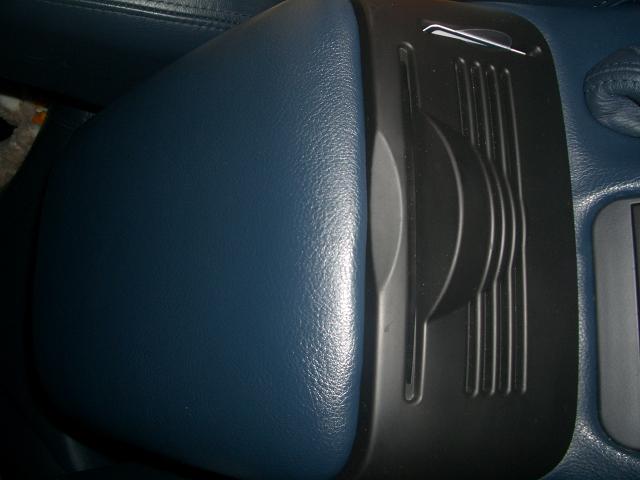
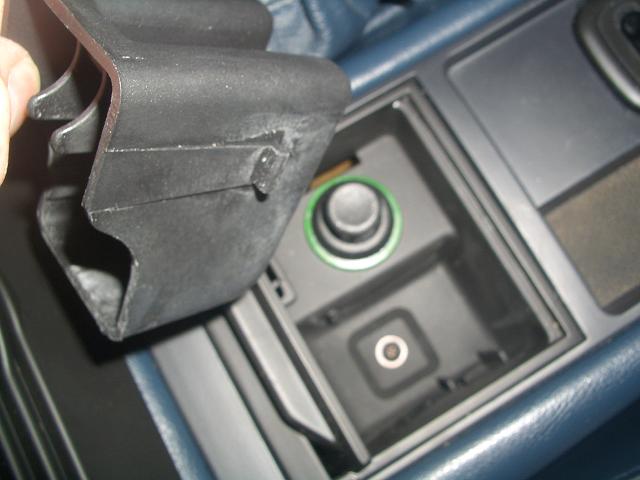
1. The arm rest in question. This has the horizonmtal slot for a CD usually in use by the Sat Nav, and a vertical slot for the GSM sim card. Just to confuse you, the picture is taken on a 90 degree angle!
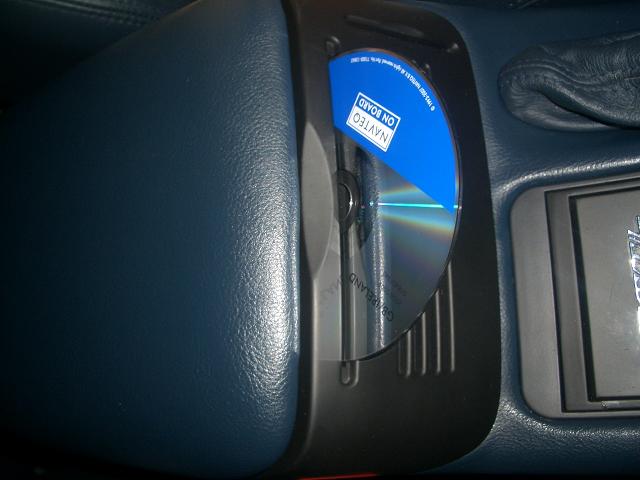
2. Turn on the power and remove the CD:
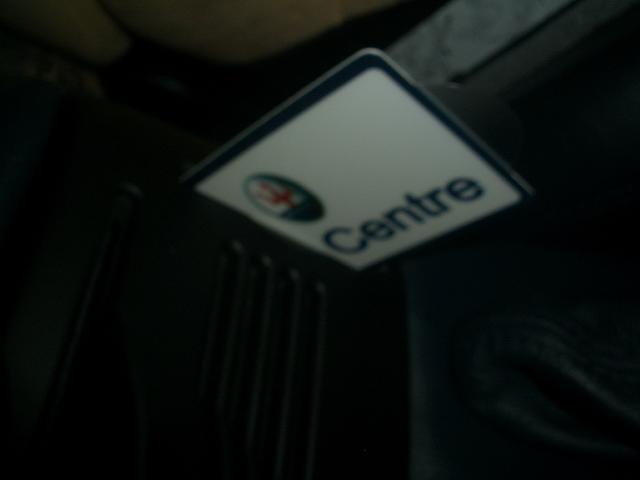
3. Turn off the power and remove the Info Centre Sim Card holder if you have one:
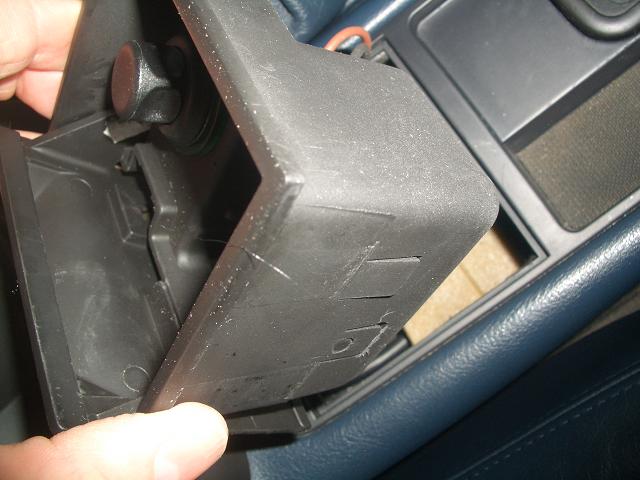
4. Under the mat at the back of the storage area in the arm rest, you will find two cross head screw bolts, remove these and the two screws at the front of the storage area:
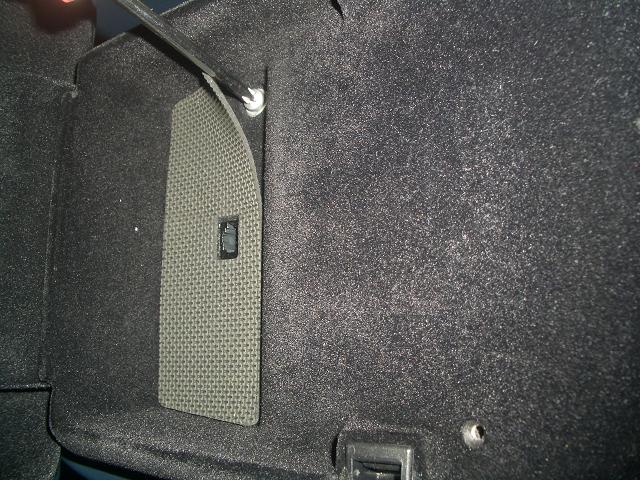
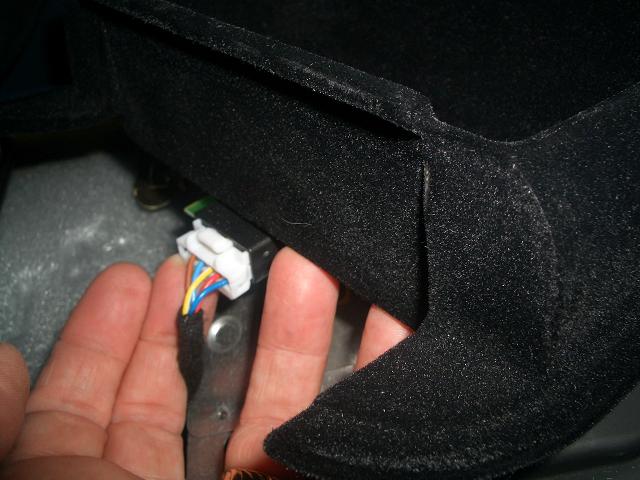
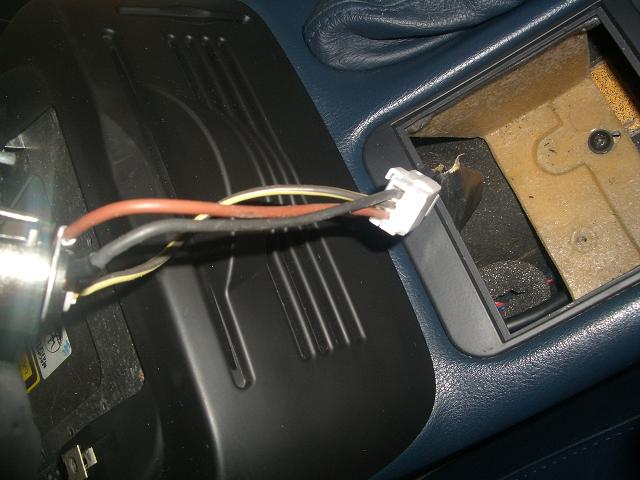
5. Lift up the storage tray and remove it, if you have the phone privacy unit fitted, unplug this cable:
6. With the storage tray part out of the way, you will see two cross head screw bolts holding the arm rest lid in place. Remove these being careful not to drop the bolts and washers into the void below (I have some grey coloured insulation in the arm rest to make the hot air go into the rear of the car better seen in this picture):
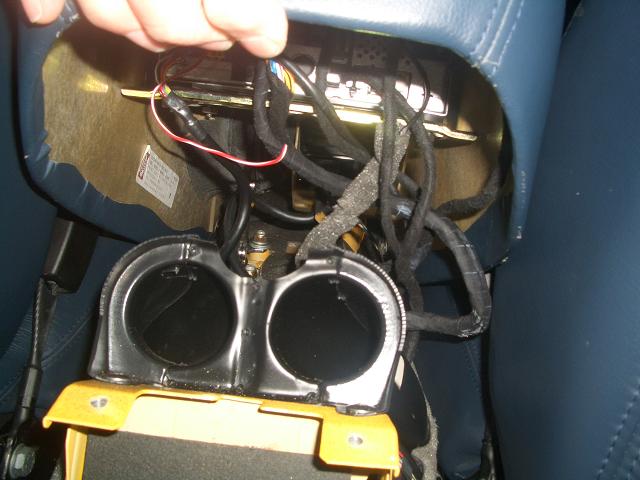
7. Now gently pull the rear air ducts out of the arm rest:
8. With both of the air ducts out, you will see two cross head screw bolts at the rear of the arm rest frome; remove these, again taking care not to drop them into the depths of the car floor:
9. OK, we are nearly there! Now pull the tray out of the ashtray to reveal a cross head screw, remove this screw:
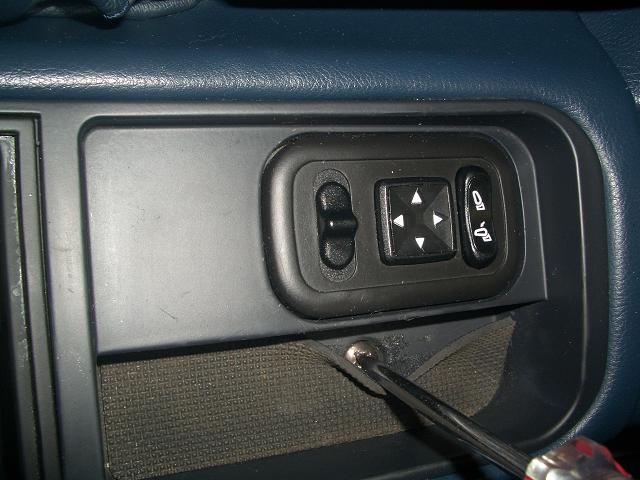
10. Now move the mat to one side next to the mirror switches and remove the cross head bolt from under here:
11. Remove the ash tray assembly and then remove the cross head screw under that, but first unplug the wires from the ash tray light:
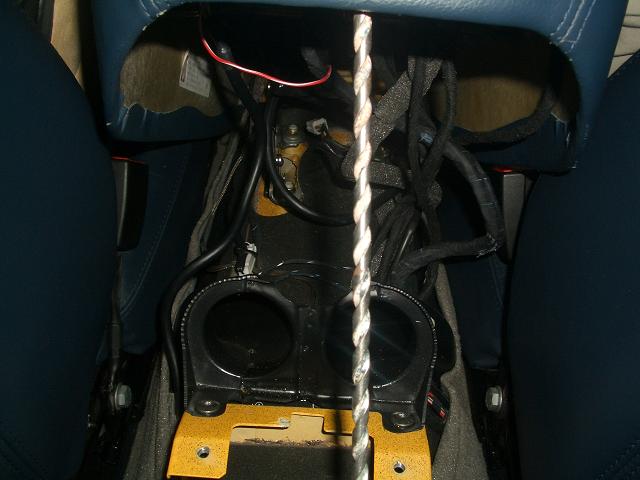
12. Lift up the rear of the entire centre consol:
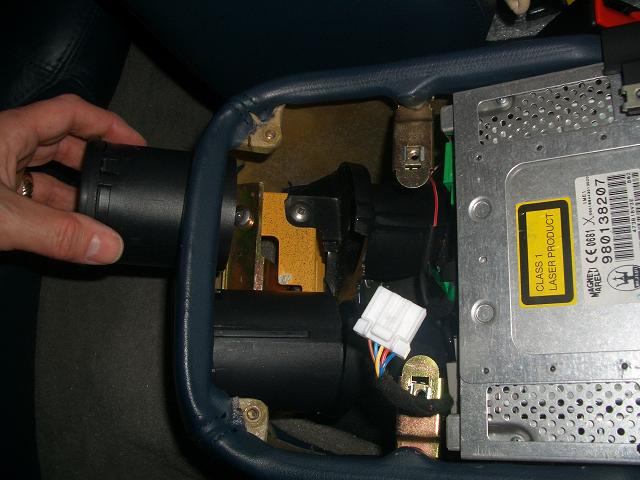
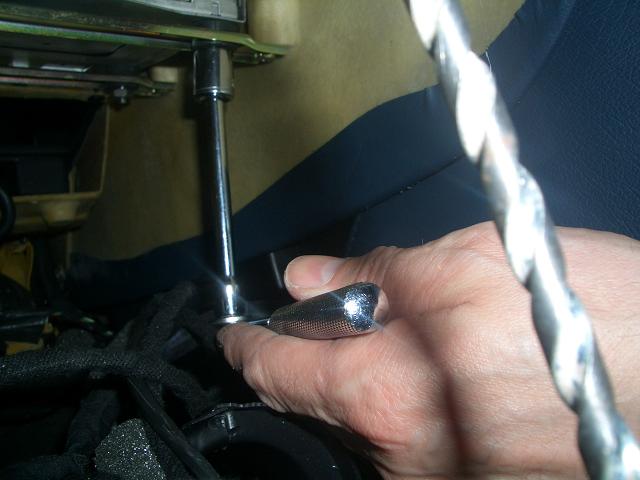
13. I propped the centre consol up on a long drill bit to gain access under the NIT Unit:
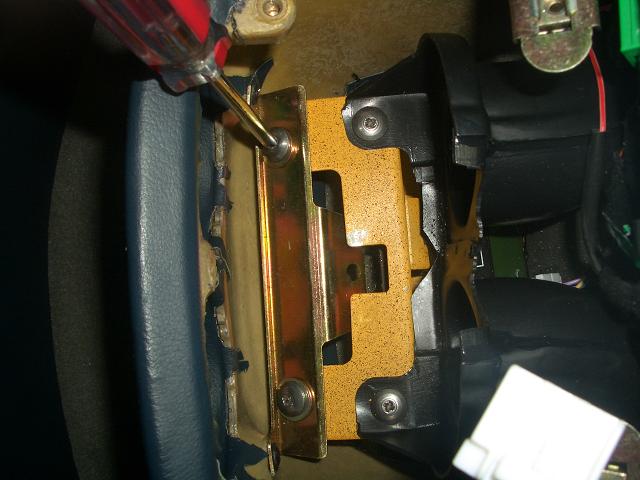
14. If you want to remove the NIT Unit, undo the 4 x 13mm nuts under the unit:
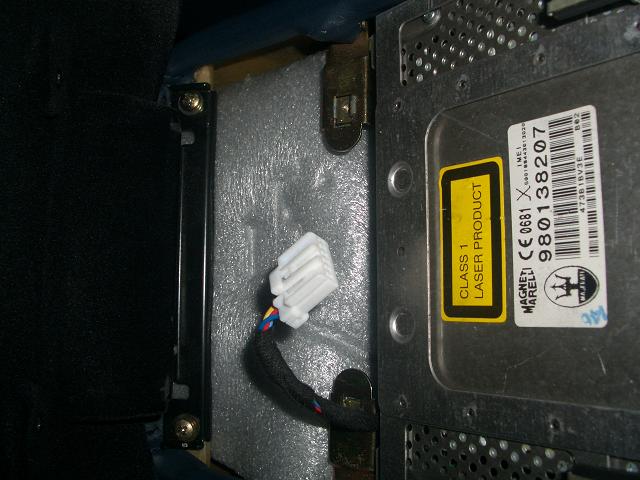
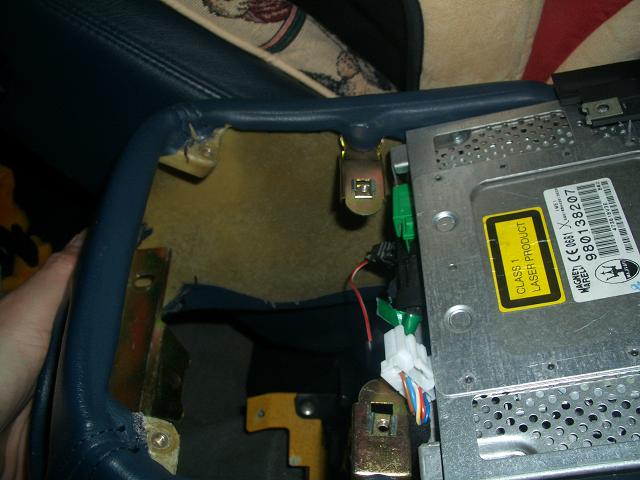
15. Now disconnect the cables CAREFULLY from the rear of the unit. The green connector at the top is the phone antenna and the grey one is the GPS antenna, then lift the unit up:
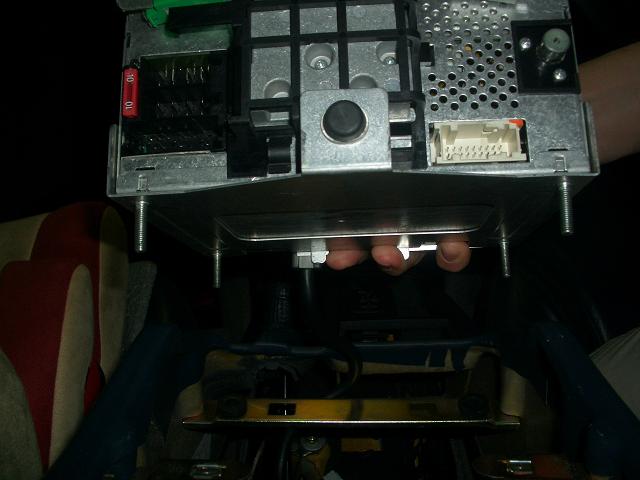
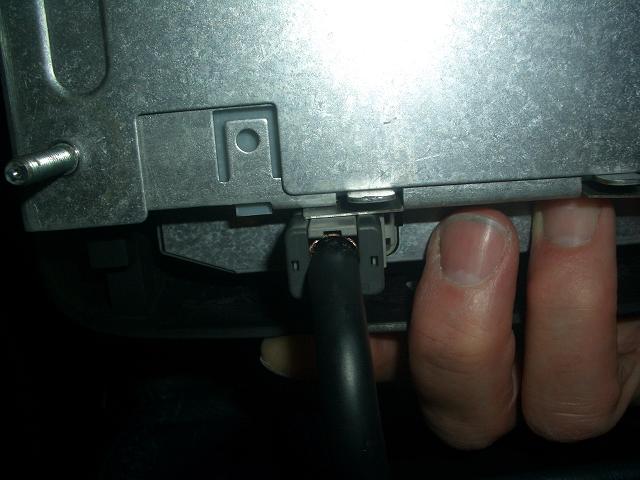
16. Finally, remove the cable connected to the front underside of the NIT Unit and then it is free to come completely out:
There you go. I hope to show you what goes on inside the NIT in the next installment!!
-David-
For those of you who may want to look inside the arm rest of a 4200, here is how to do it and what you will find. Useful for all kinds of audio fiddling about kind of projects!
1. The arm rest in question. This has the horizonmtal slot for a CD usually in use by the Sat Nav, and a vertical slot for the GSM sim card. Just to confuse you, the picture is taken on a 90 degree angle!
2. Turn on the power and remove the CD:
3. Turn off the power and remove the Info Centre Sim Card holder if you have one:
4. Under the mat at the back of the storage area in the arm rest, you will find two cross head screw bolts, remove these and the two screws at the front of the storage area:
5. Lift up the storage tray and remove it, if you have the phone privacy unit fitted, unplug this cable:
6. With the storage tray part out of the way, you will see two cross head screw bolts holding the arm rest lid in place. Remove these being careful not to drop the bolts and washers into the void below (I have some grey coloured insulation in the arm rest to make the hot air go into the rear of the car better seen in this picture):
7. Now gently pull the rear air ducts out of the arm rest:
8. With both of the air ducts out, you will see two cross head screw bolts at the rear of the arm rest frome; remove these, again taking care not to drop them into the depths of the car floor:
9. OK, we are nearly there! Now pull the tray out of the ashtray to reveal a cross head screw, remove this screw:
10. Now move the mat to one side next to the mirror switches and remove the cross head bolt from under here:
11. Remove the ash tray assembly and then remove the cross head screw under that, but first unplug the wires from the ash tray light:
12. Lift up the rear of the entire centre consol:
13. I propped the centre consol up on a long drill bit to gain access under the NIT Unit:
14. If you want to remove the NIT Unit, undo the 4 x 13mm nuts under the unit:
15. Now disconnect the cables CAREFULLY from the rear of the unit. The green connector at the top is the phone antenna and the grey one is the GPS antenna, then lift the unit up:
16. Finally, remove the cable connected to the front underside of the NIT Unit and then it is free to come completely out:
There you go. I hope to show you what goes on inside the NIT in the next installment!!
-David-
