What have you done to your Maserati today?

Felonious Crud

Administrator
Staff member
Messages
21,289
Removed the NS tail light, which was getting a bit condensationy again. Hardly a surprise, as the gor-tex tape over the vent had decided to go for a stroll, leaving a nice hole for the damp to get in. Left it out in the sun for the day, occasionally using a hoover to suck some new warm, dry air through the housing, and then resealed it with some silicon seal around the edges of the tape to help keep it in one place. When that’s dry I’ll refit it, having cleaned the grime out of the area usually hidden by the light.
 

P5Nij

Member
Messages
2,572
Not a Maserati but....
The side badges were letting the rest of the car down so invested in a new pair.
1. Managed to carefully remove the existing with a hairdryer after masking up the position
2. Sraped off the majority of the double sided tape with nails and removed the rest with a cloth and turps and then washed
3. Removed the weathered staining with scratch removal compound, washed again and then polished the area
4. Fit the new badges and removed masking tape

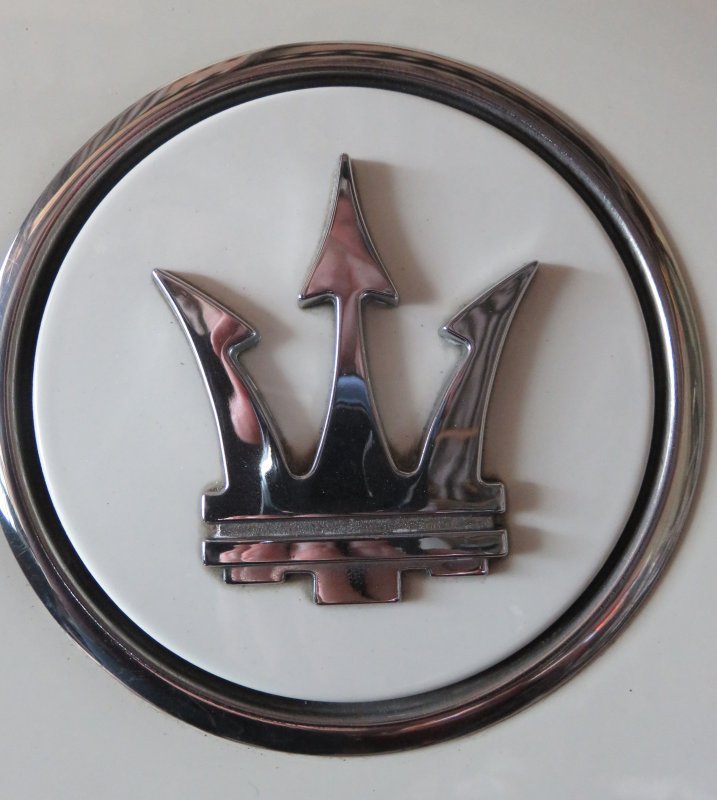
I find jobs like this immensely satisfying for some reason, especially renovating original badges and trim. On my '68 Cooper S I managed to repaint the backs of the embossed plastic badge inserts which is quite tricky to do, and on my '70 Rover P5B Coupe I repainted the back backgrounds on the 'plinth' style badges by flooding the background relief part with black Humbrol enamel. Thinking about it I still need to clean up the crud that's built up around the Maser tridents on the Biturbo's fuel filler cap and the dummy one on the other side, but removing the tridents is a bit tricky without damaging them, then I'd probably have to glue them back on afterwards

IMG_0405.JPG

(I'm still not sure how to remove the dummy cap on the near side without damaging it - does it just pop out with a bit of leverage from a screwdriver...?)
 
Last edited:

Felonious Crud

Administrator
Staff member
Messages
21,289
Removed the NS tail light, which was getting a bit condensationy again. Hardly a surprise, as the gor-tex tape over the vent had decided to go for a stroll, leaving a nice hole for the damp to get in. Left it out in the sun for the day, occasionally using a hoover to suck some new warm, dry air through the housing, and then resealed it with some silicon seal around the edges of the tape to help keep it in one place. When that’s dry I’ll refit it, having cleaned the grime out of the area usually hidden by the light.
Ah, cobblers! Didn't wait long enough. Condensation back. The offending tail light is now in the airing cupboard, thinking things through.
 

Felonious Crud

Administrator
Staff member
Messages
21,289
Brera rear cluster is the same. Warm days make it worse.
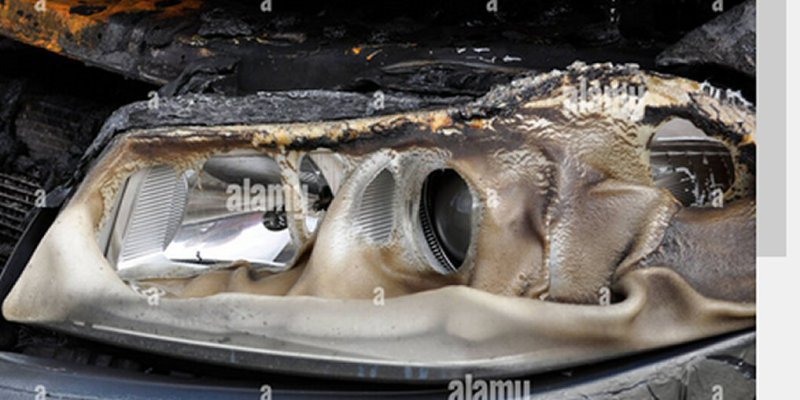
You can bake the Aston ones in the oven to warm and release the seal, prize them apart, dry them out, and then reseal them... tried it once, warped the housing. Never again. The easier approach is to drill a hole or two in strategic locations, leave it somewhere warm for as long as possible to fully dry, reseal the housing with silicon seal and stick some gore-tex over the drill hole(s). Which works pretty well, but it's still seldom a permanent solution.
 
Messages
89
You can bake the Aston ones in the oven to warm and release the seal, prize them apart, dry them out, and then reseal them... tried it once, warped the housing. Never again. The easier approach is to drill a hole or two in strategic locations, leave it somewhere warm for as long as possible to fully dry, reseal the housing with silicon seal and stick some gore-tex over the drill hole(s). Which works pretty well, but it's still seldom a permanent solution.
Yep, done that successfully with Audi a2 headlights. Very different price point to Aston or Maserati ones though..:….
 

CatmanV2

Member
Messages
48,955
You can bake the Aston ones in the oven to warm and release the seal, prize them apart, dry them out, and then reseal them... tried it once, warped the housing. Never again. The easier approach is to drill a hole or two in strategic locations, leave it somewhere warm for as long as possible to fully dry, reseal the housing with silicon seal and stick some gore-tex over the drill hole(s). Which works pretty well, but it's still seldom a permanent solution.

Surely if you're filling it with *warm* air, then sealing it, when that warm (ergo wetter) air cools, you're going to get condensation. Counter intuitively I wonder if putting it in the freezer would be a better idea...

C
 

Felonious Crud

Administrator
Staff member
Messages
21,289
Surely if you're filling it with *warm* air, then sealing it, when that warm (ergo wetter) air cools, you're going to get condensation. Counter intuitively I wonder if putting it in the freezer would be a better idea...

C
Logically yes. But step 1 is to dry it out. After that, I'll let it cool down to a more normal temp (although our airing cupboard is hardly hot at this time of year) and after that re-seal it (again). A couple of strategically placed silica sachets would be useful if (which I won't) I had separated the two halves.

The front lights on Astons are also prone to condensation so bad that the lights are all but useless. The first-phase Aston fix is silica sachets (which don't work) followed by a venting kit to blow warm air from the engine into the lights, which works a treat, So, I have heated headlights. Hyperlux, eh?
 

Felonious Crud

Administrator
Staff member
Messages
21,289
Oh, nobs! Tail light re-fitted and seems happy, but now the battery has gone kaput. The same Christmas tree 'OMG, all of me doesn't work!' pantomime dame dramas that Masers get hissy about. The big mincing queen. So I've ordered it a lovely new Bosch to collect (because the courier is scared of delivering batteries to here) and fit tomorrow.